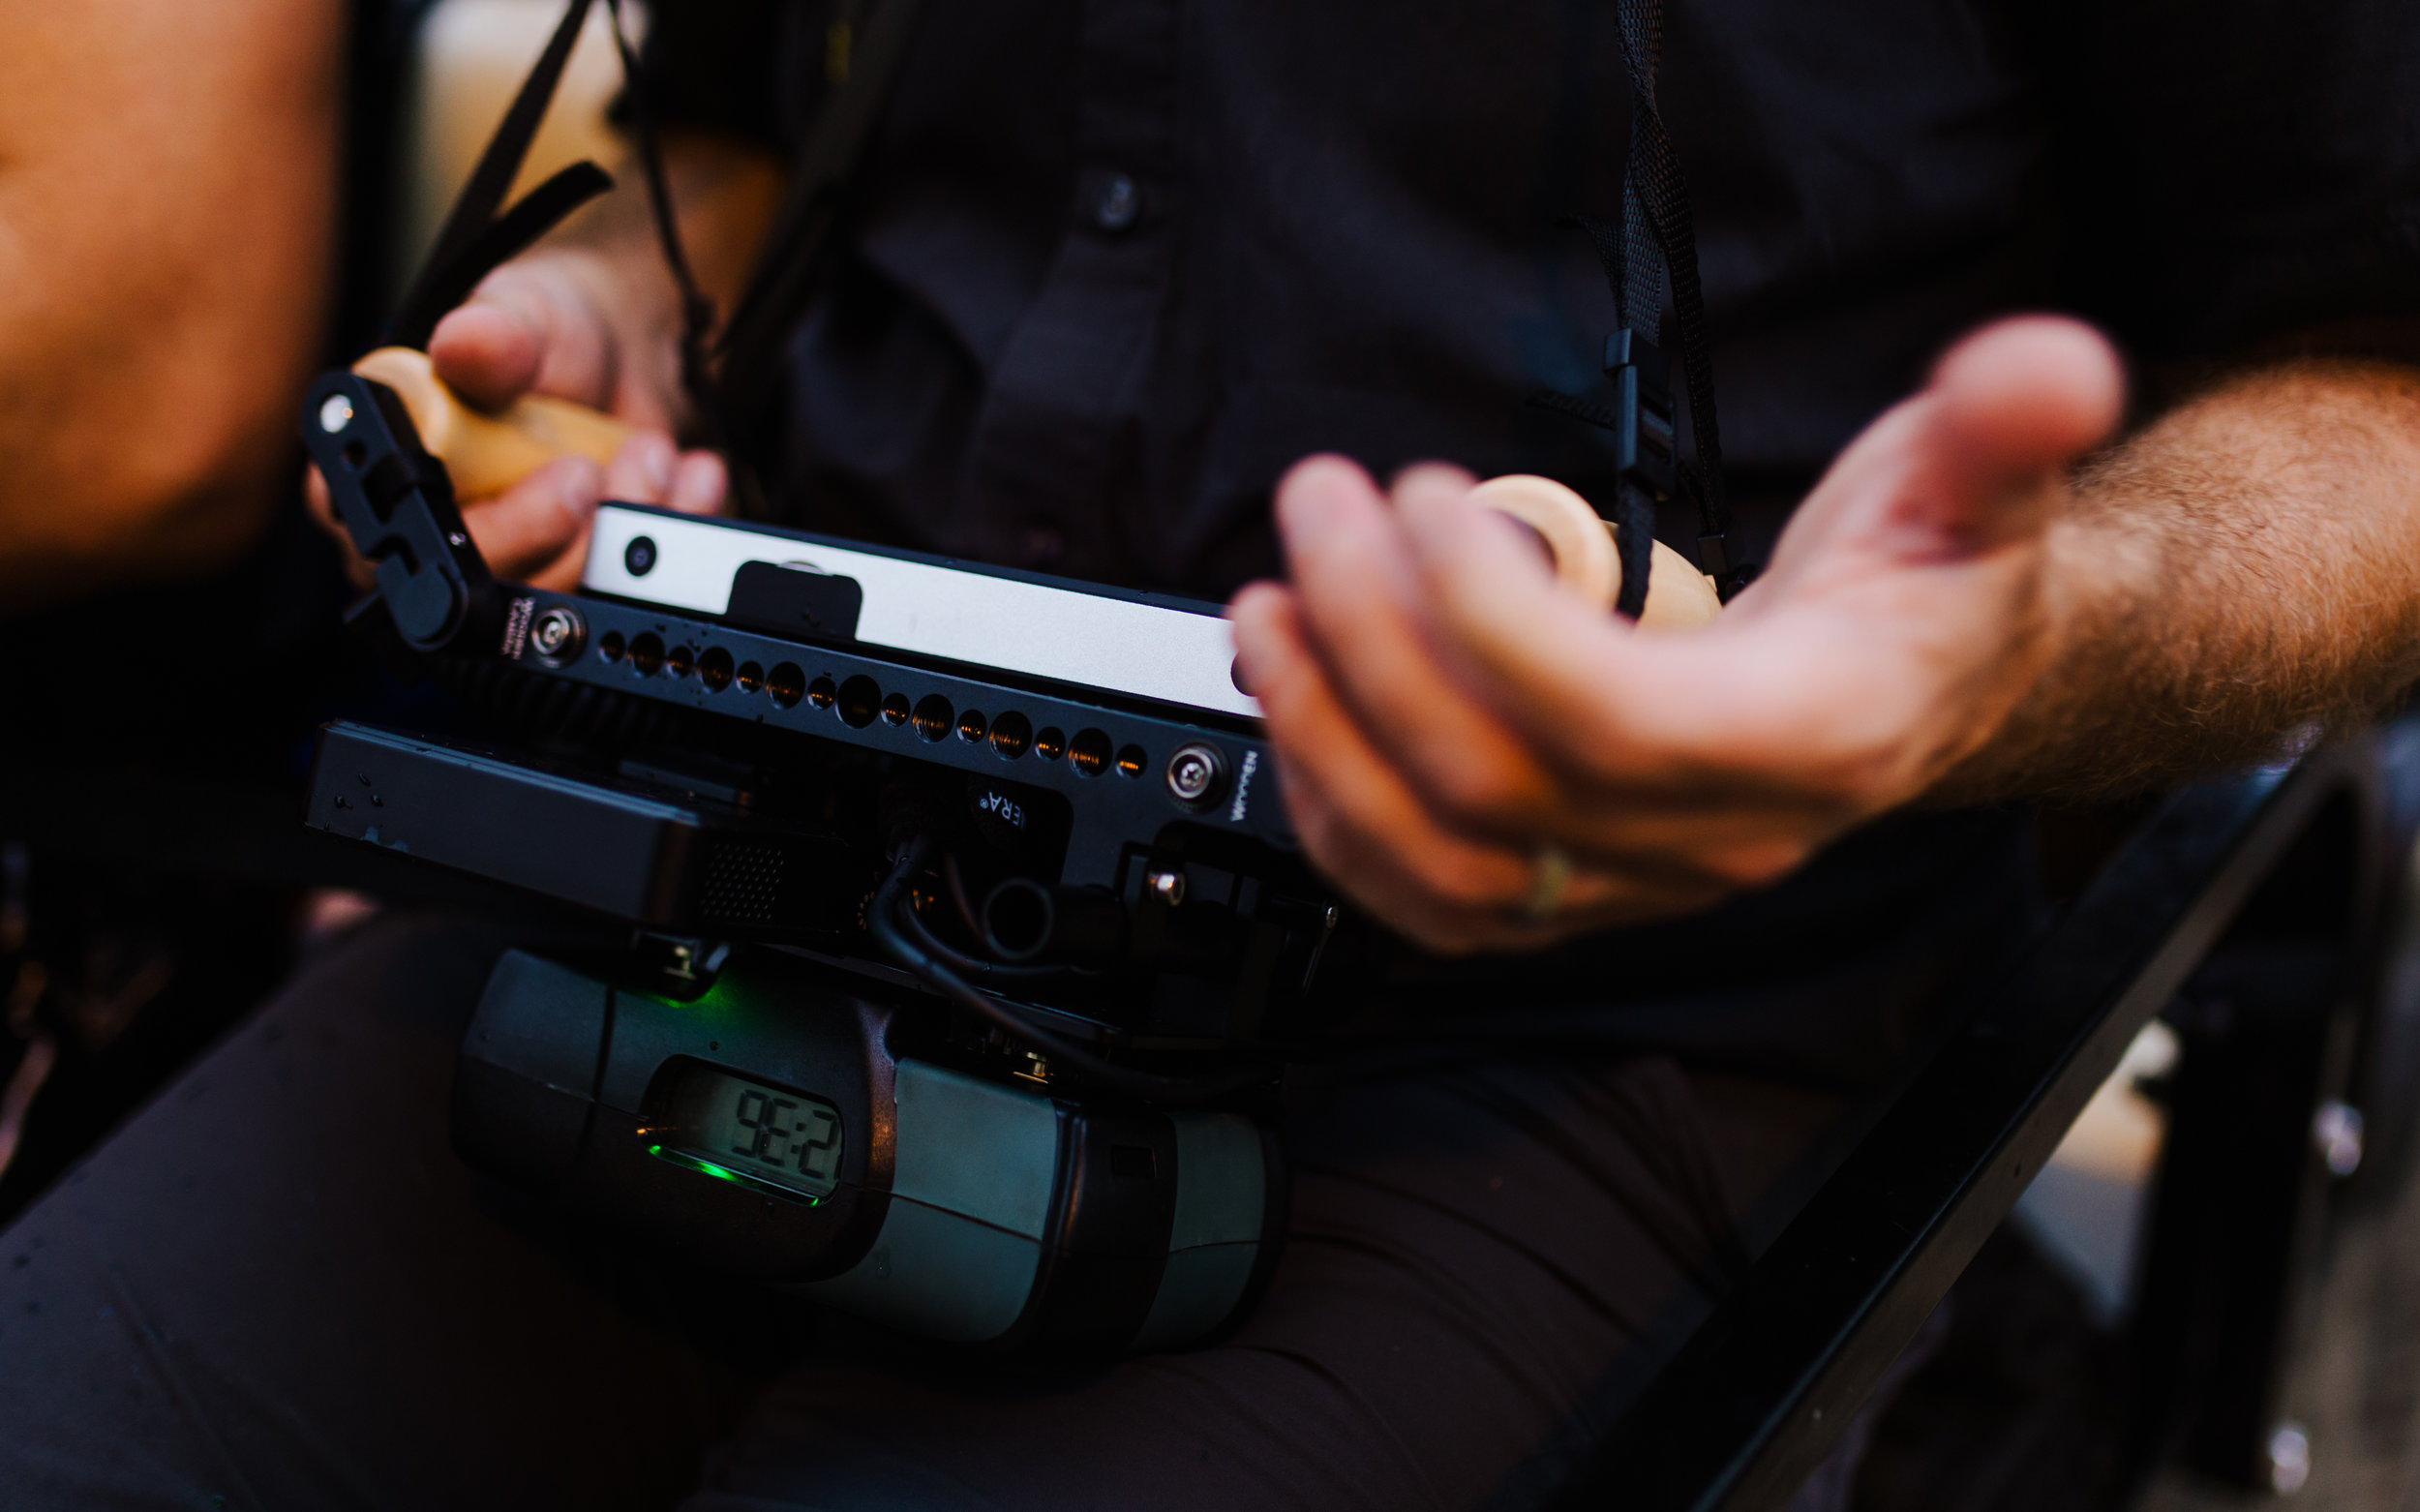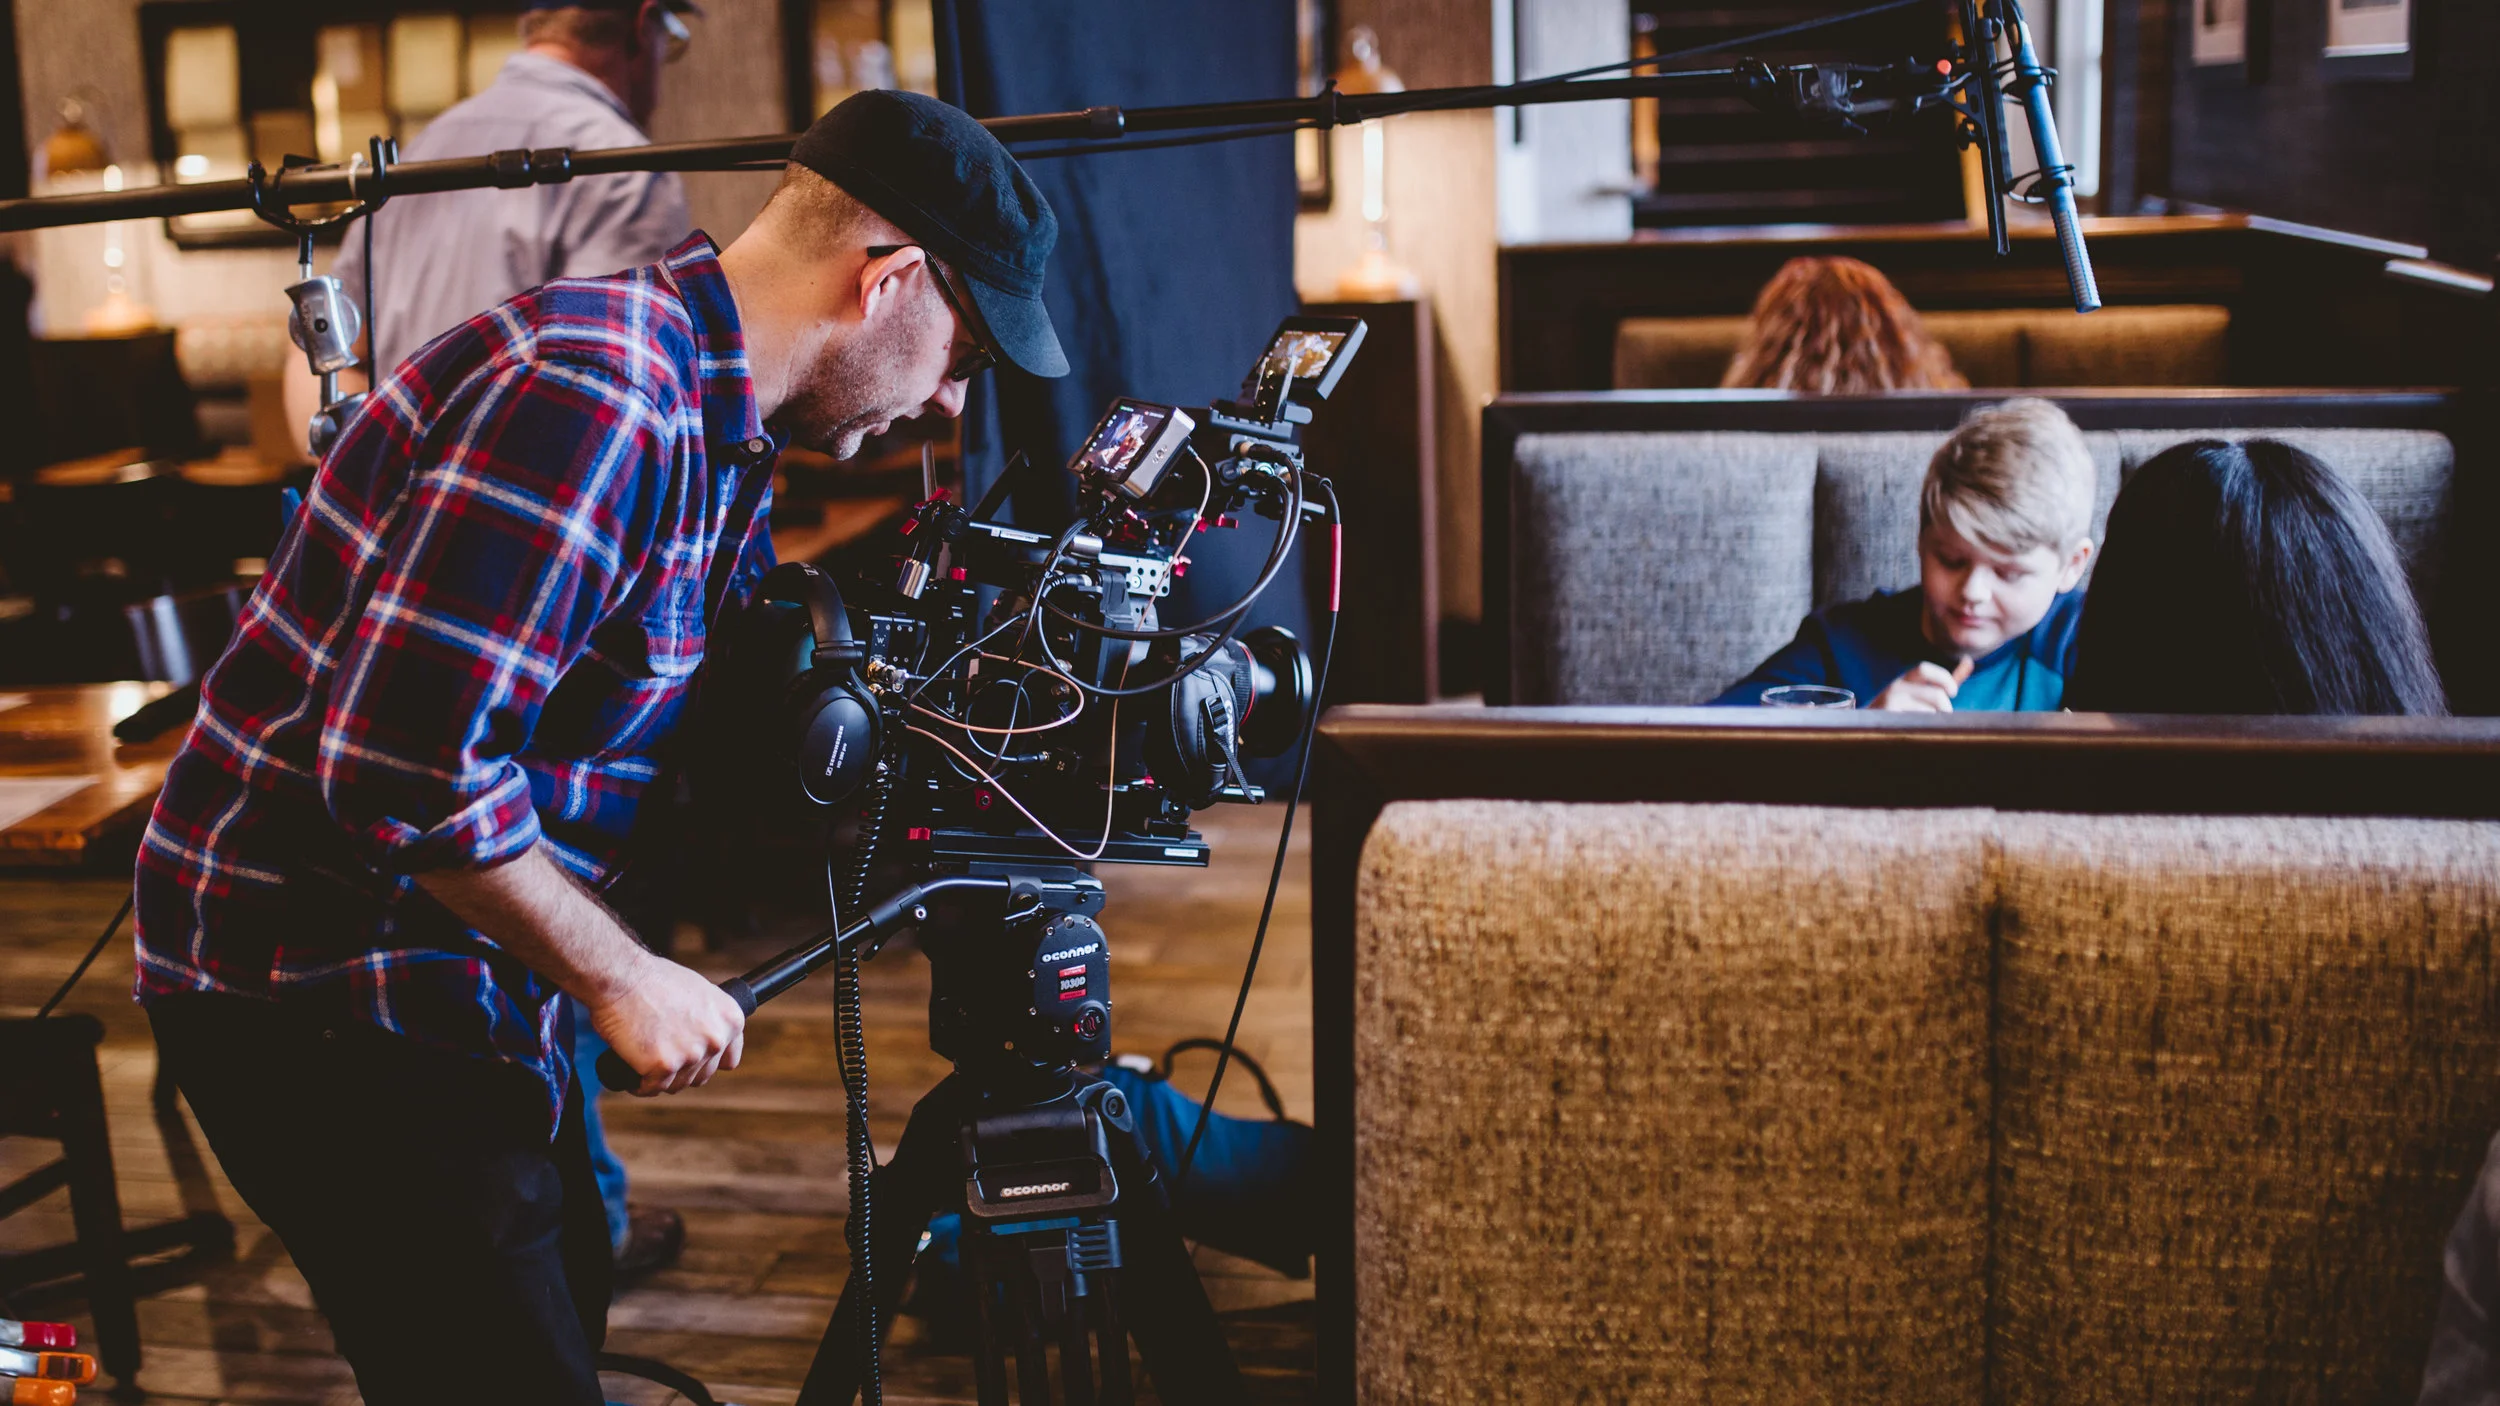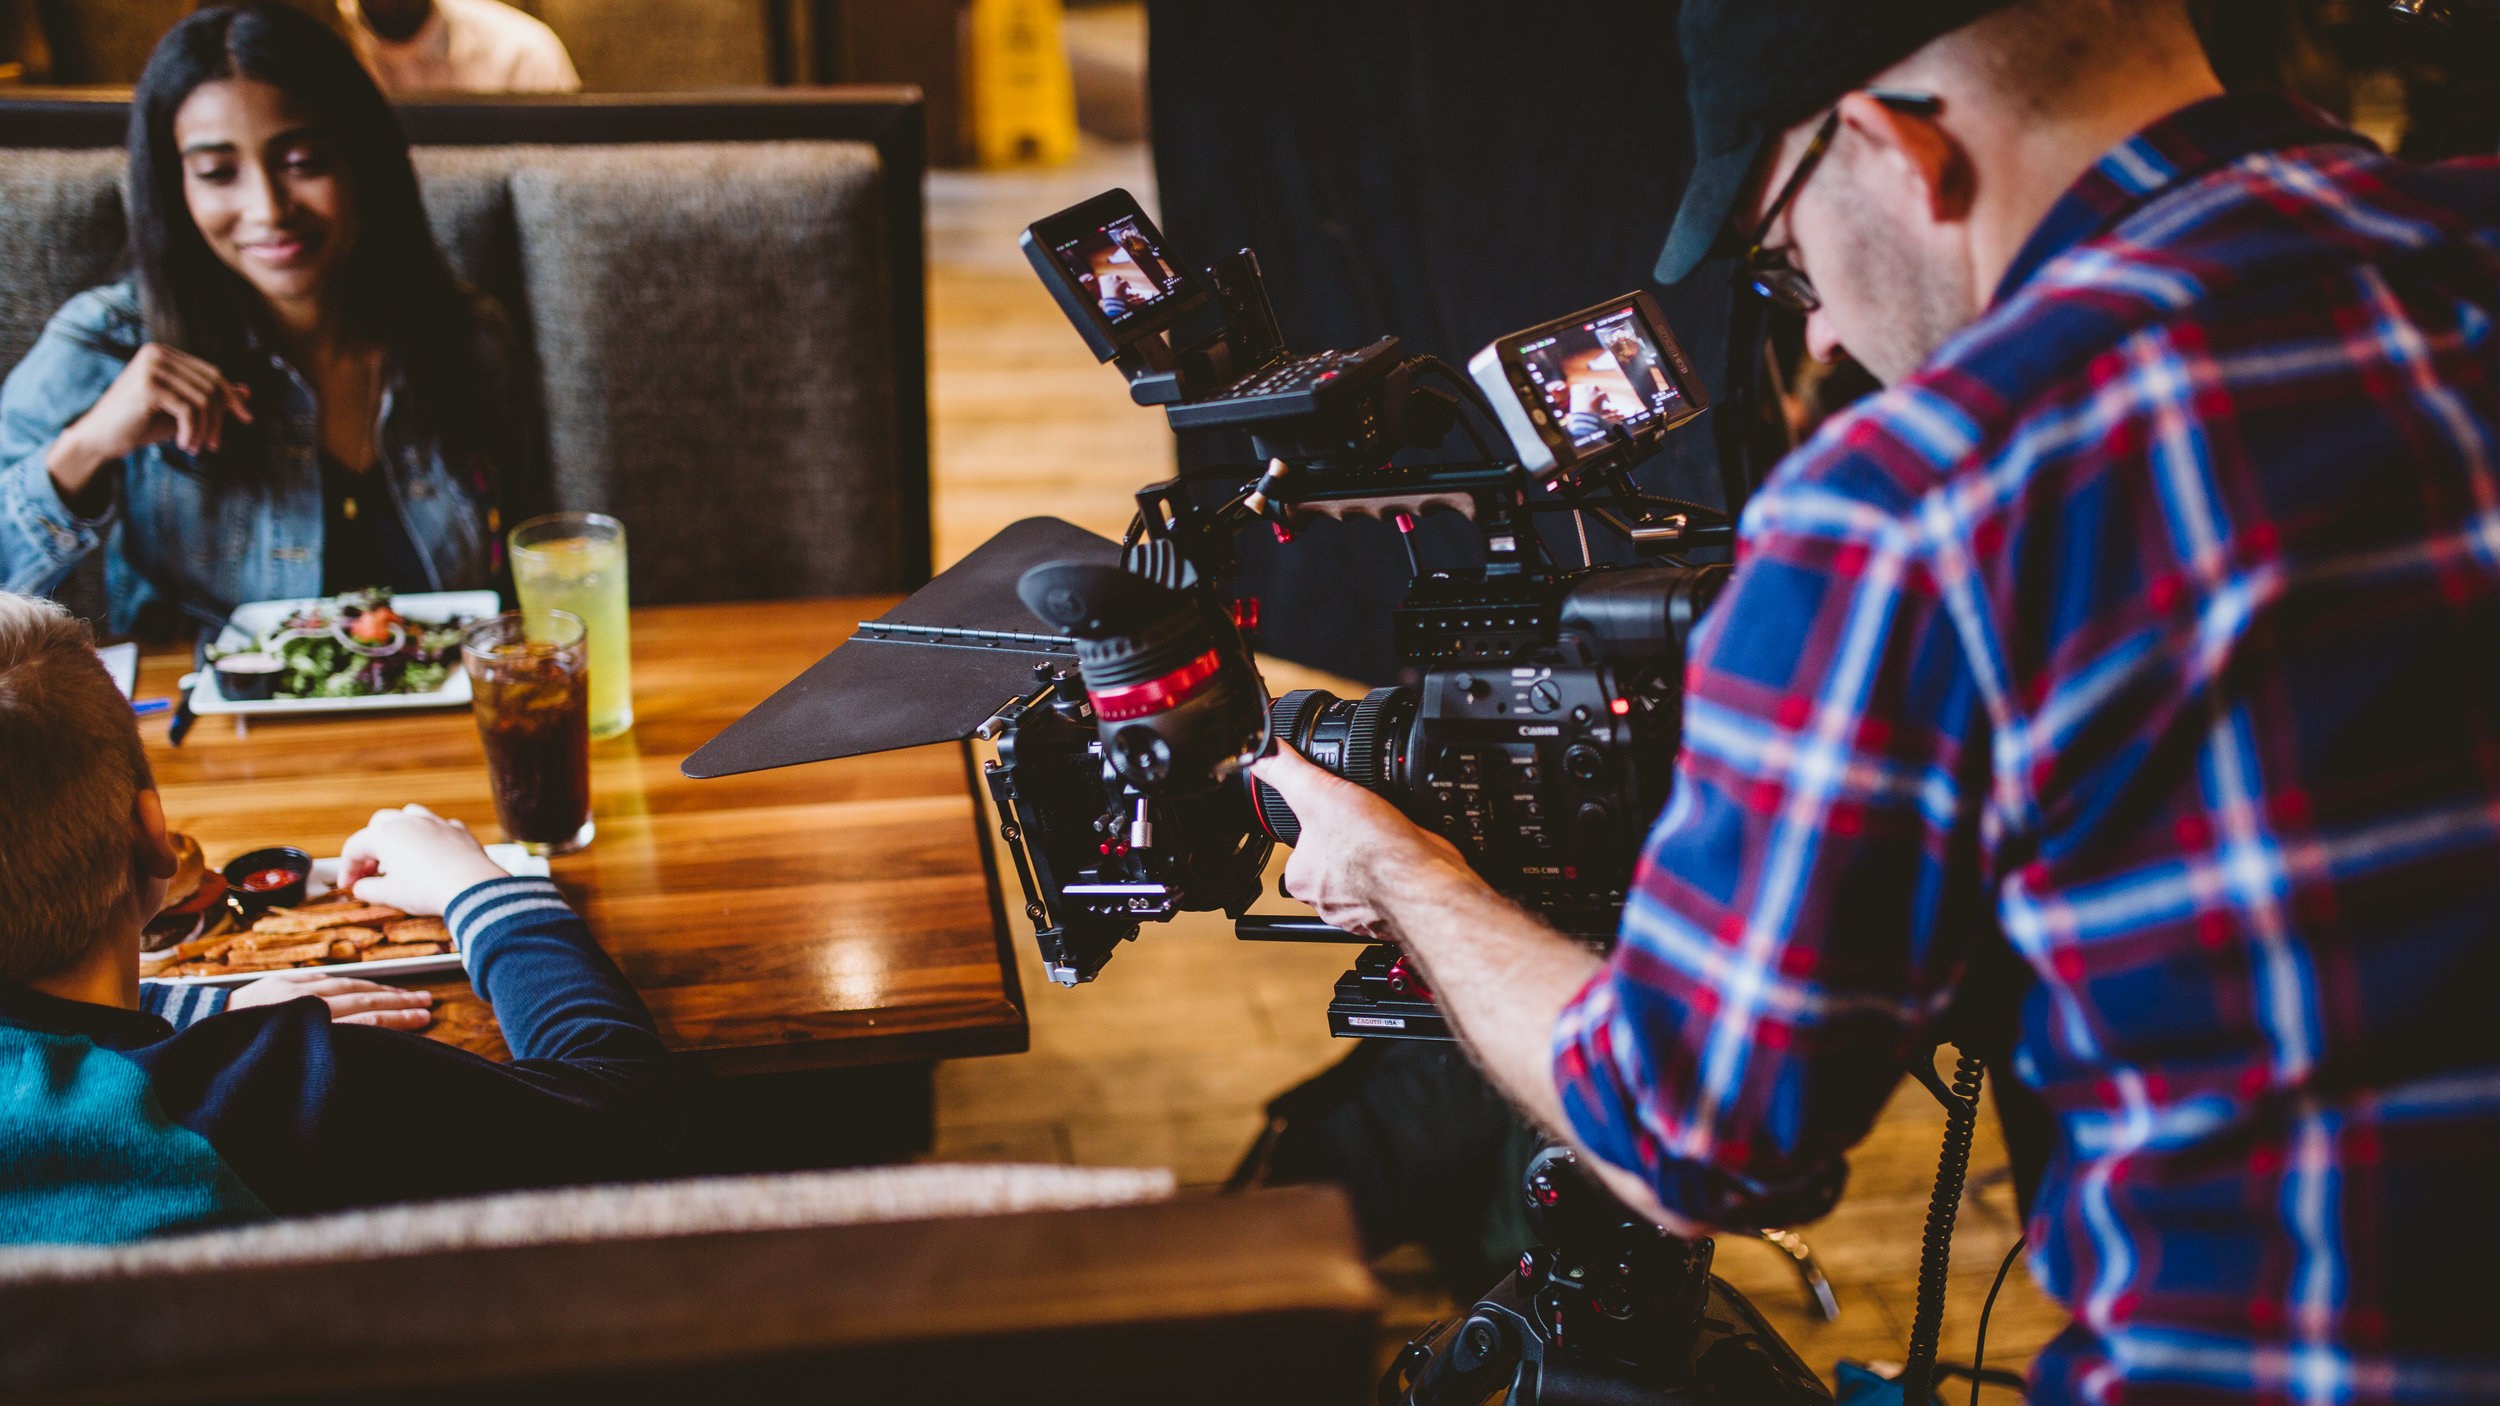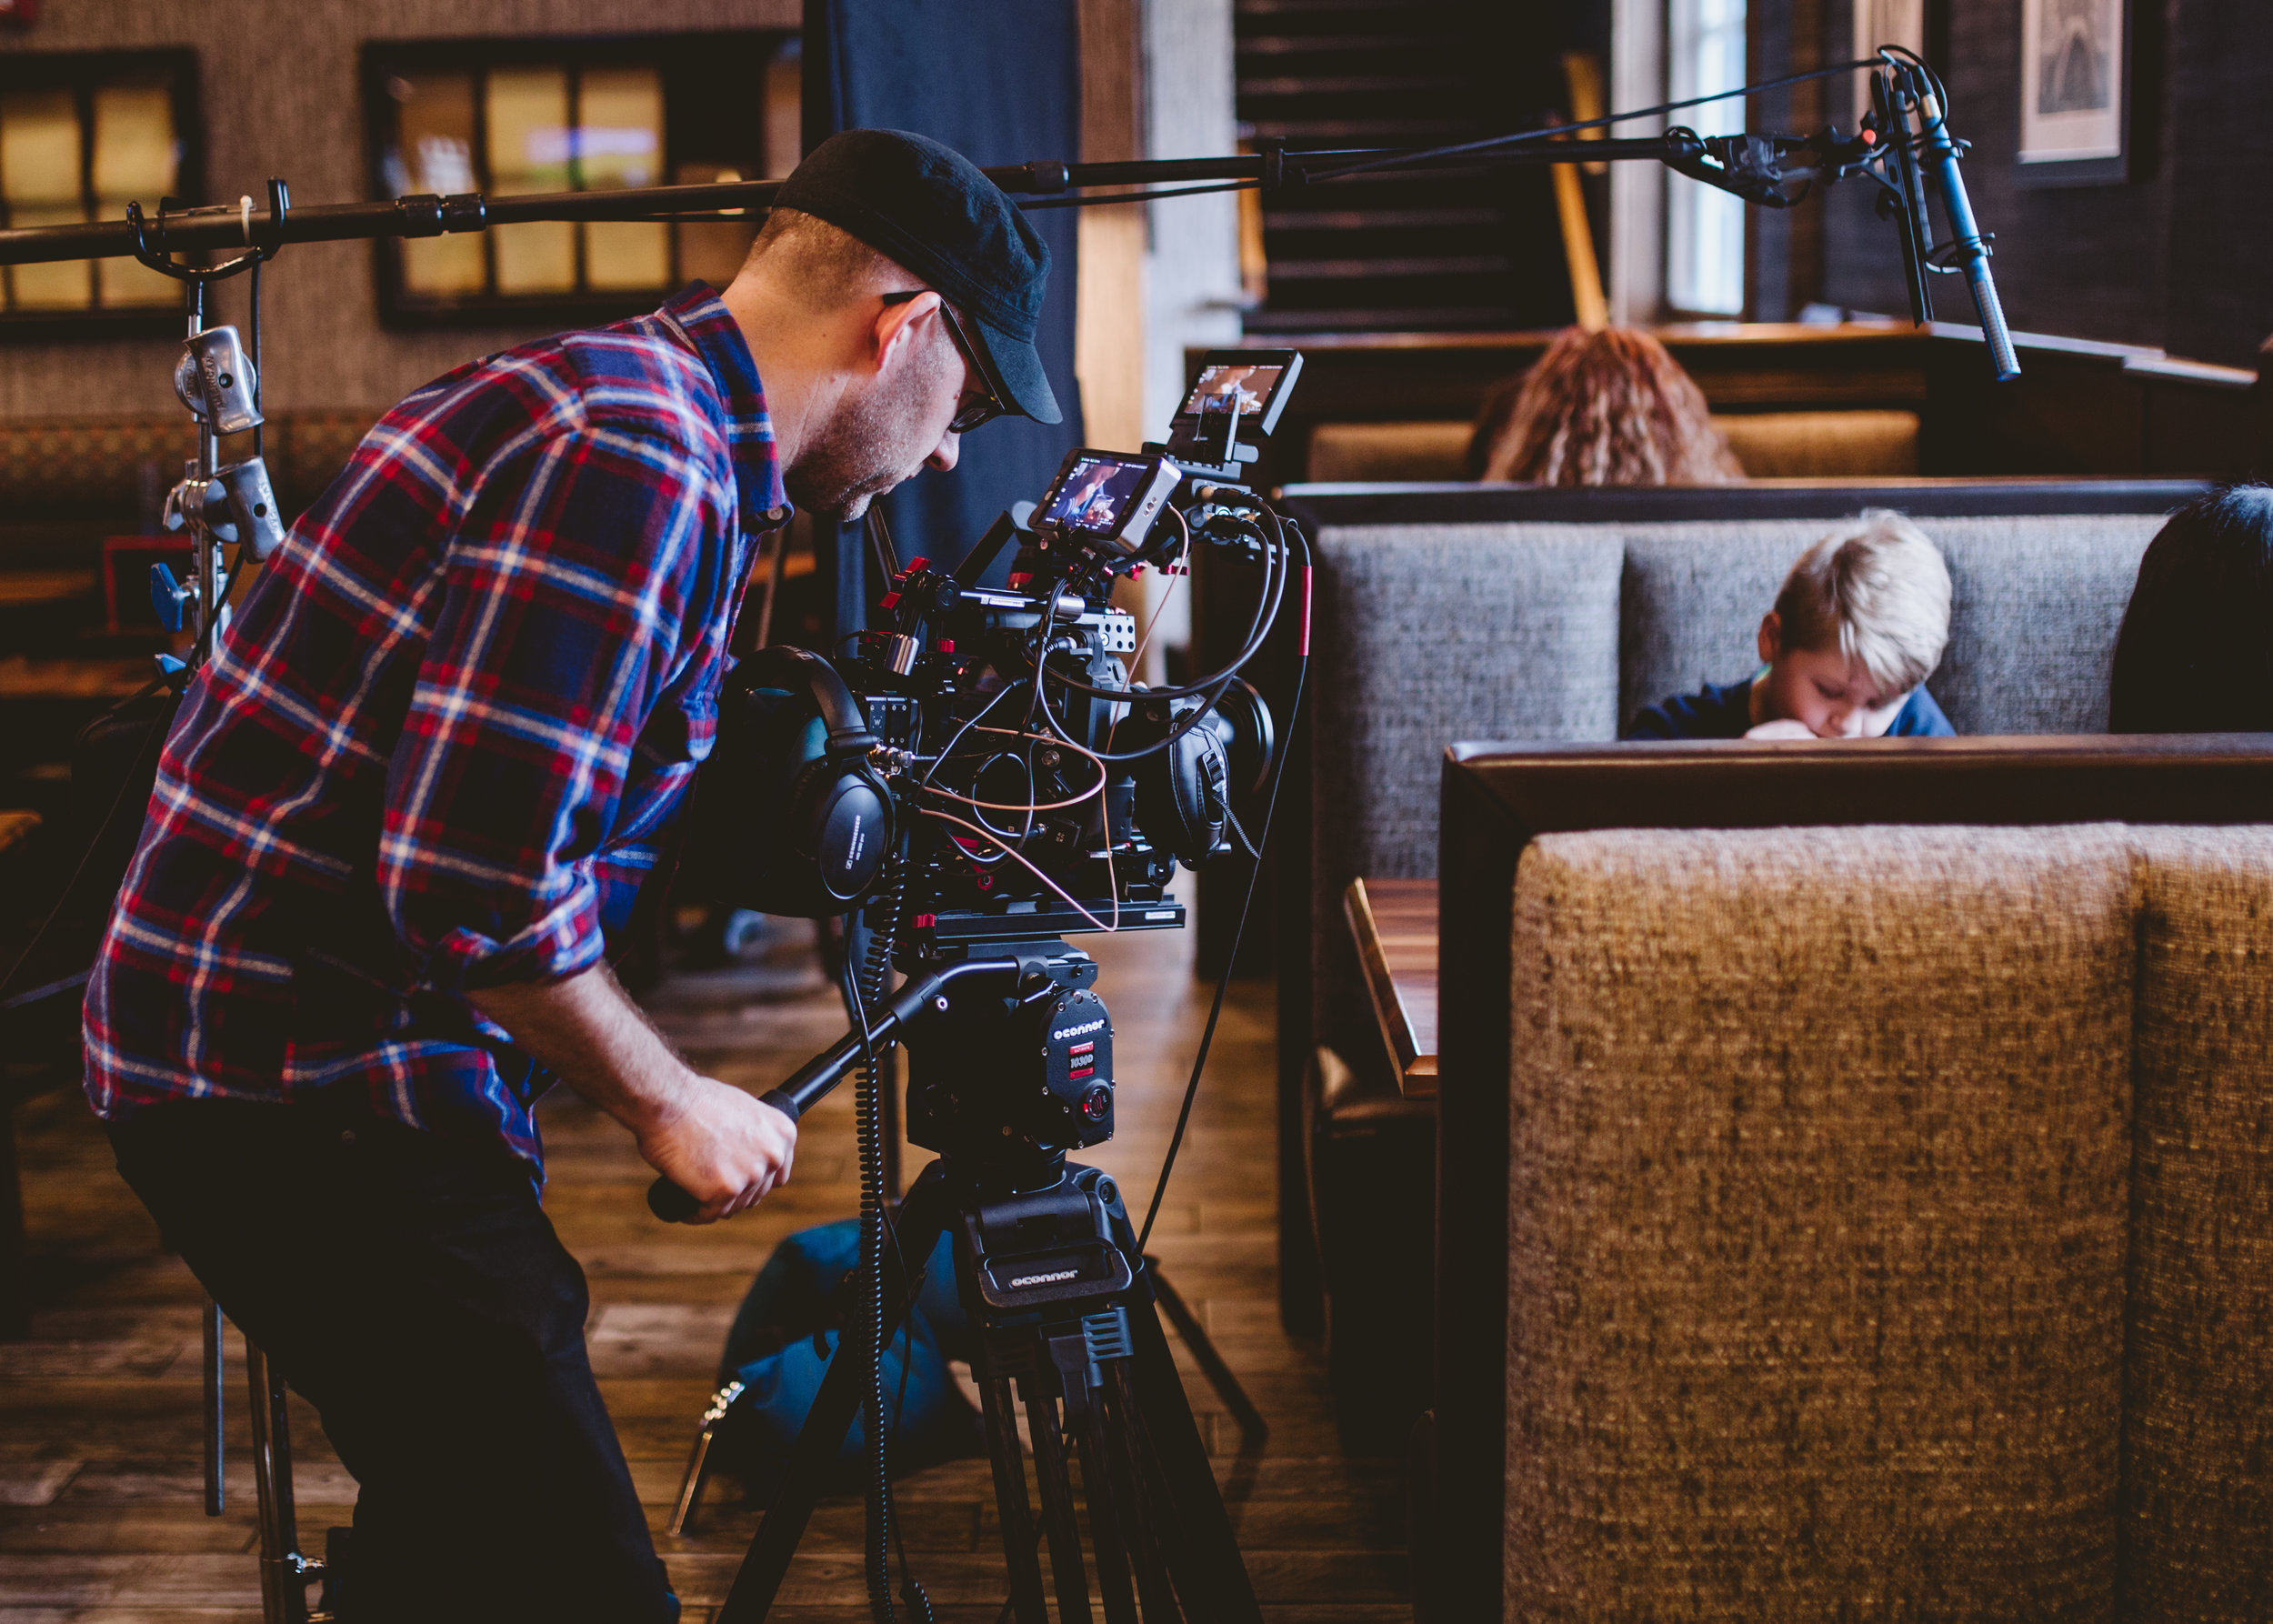

I’ve been using the URSA Mini G2 since last summer and thought I would share how I build out the camera for shoulder mount, EasyRig, and tripod work. Every job is different and what I build my camera rig around is driven by the requirements of any given job. So I’ll give some details, but I’m not saying this is the only way I configure my camera.

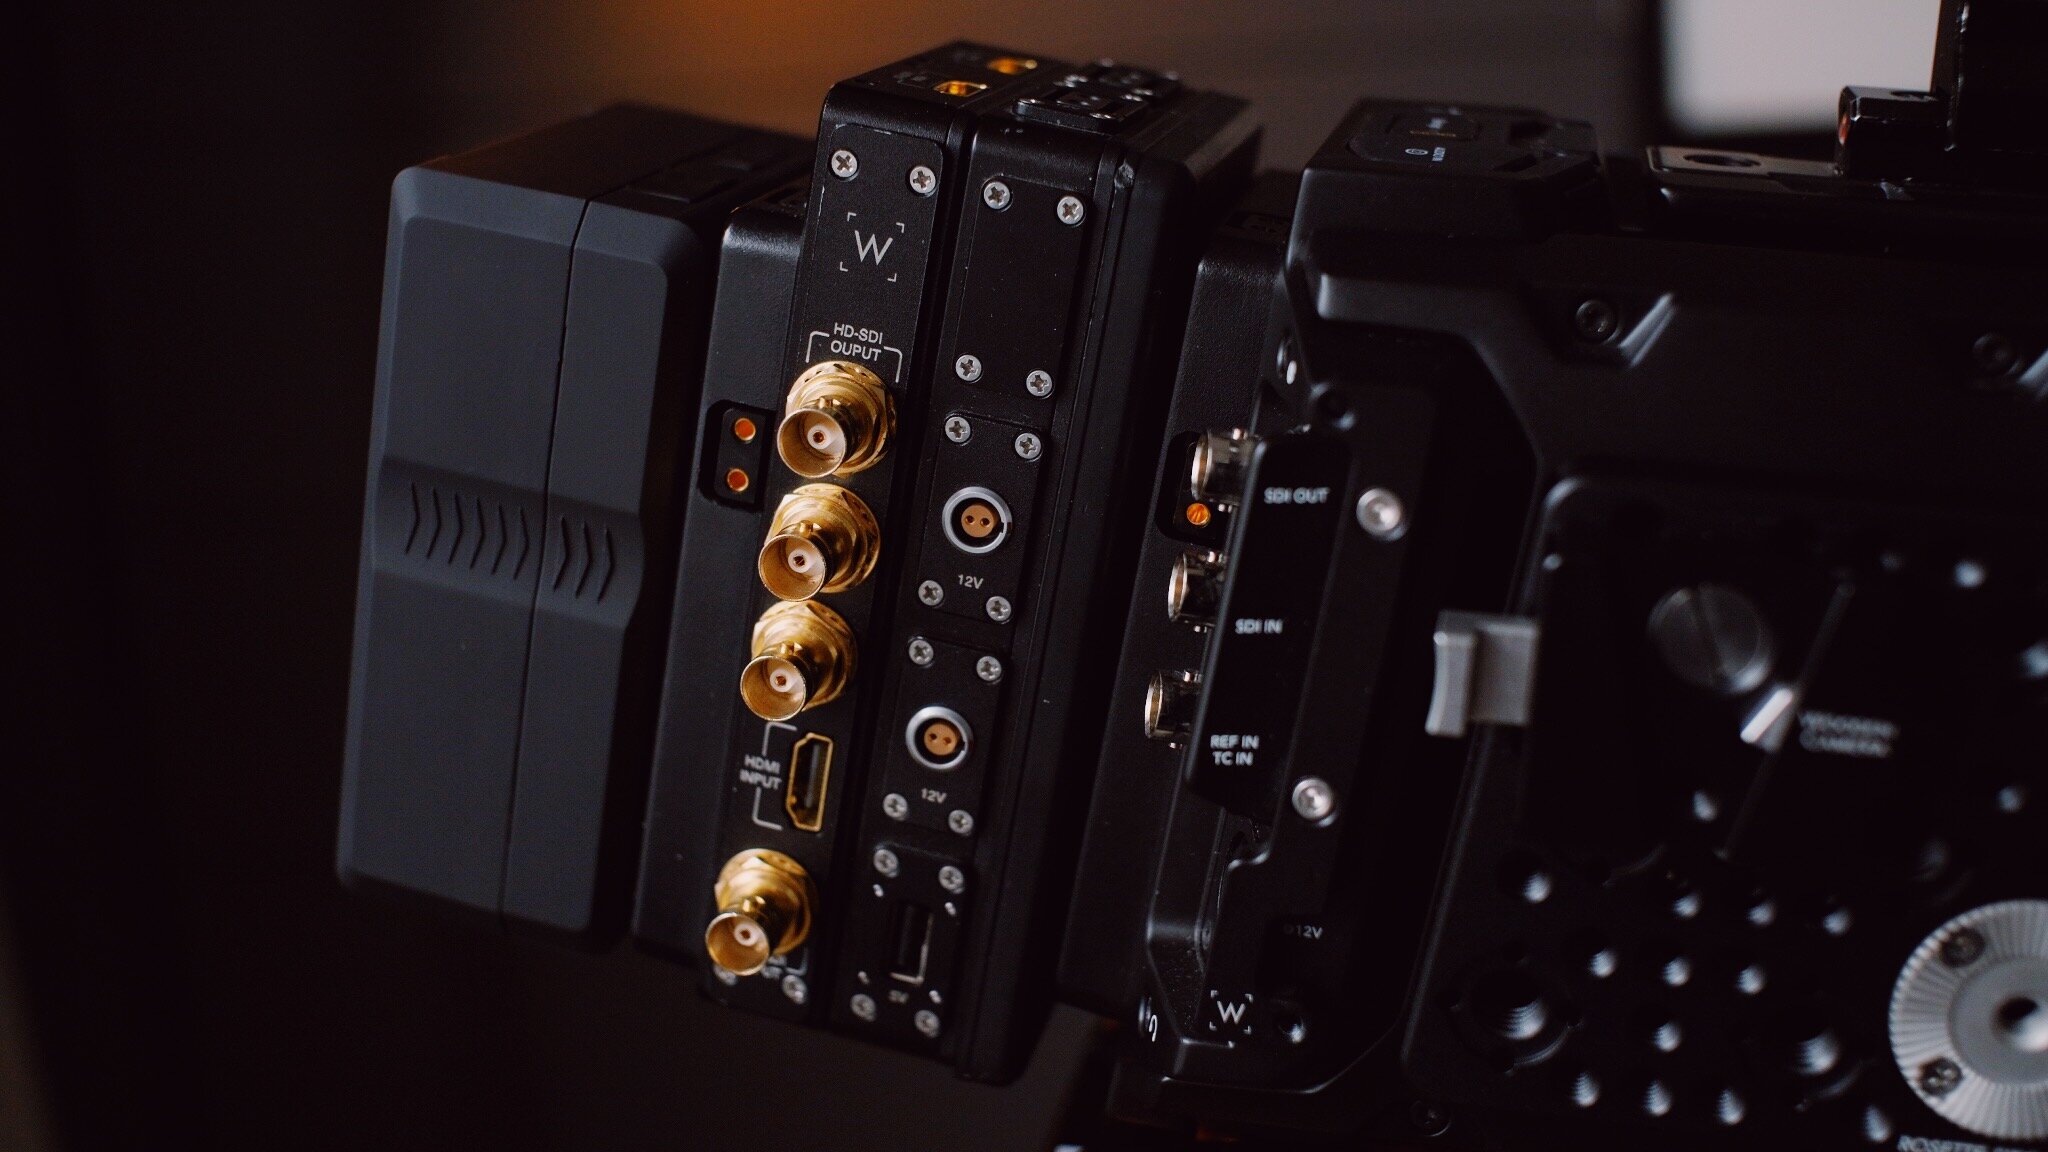
Wooden Camera Side Plate with V-mount Station. I use this to mount my wireless transmitter, and a side grip if needed.

Zacuto Top Handle mounted to a single Z-rail. I love this because you don’t have to add a top plate to your camera. It’s a simple design.
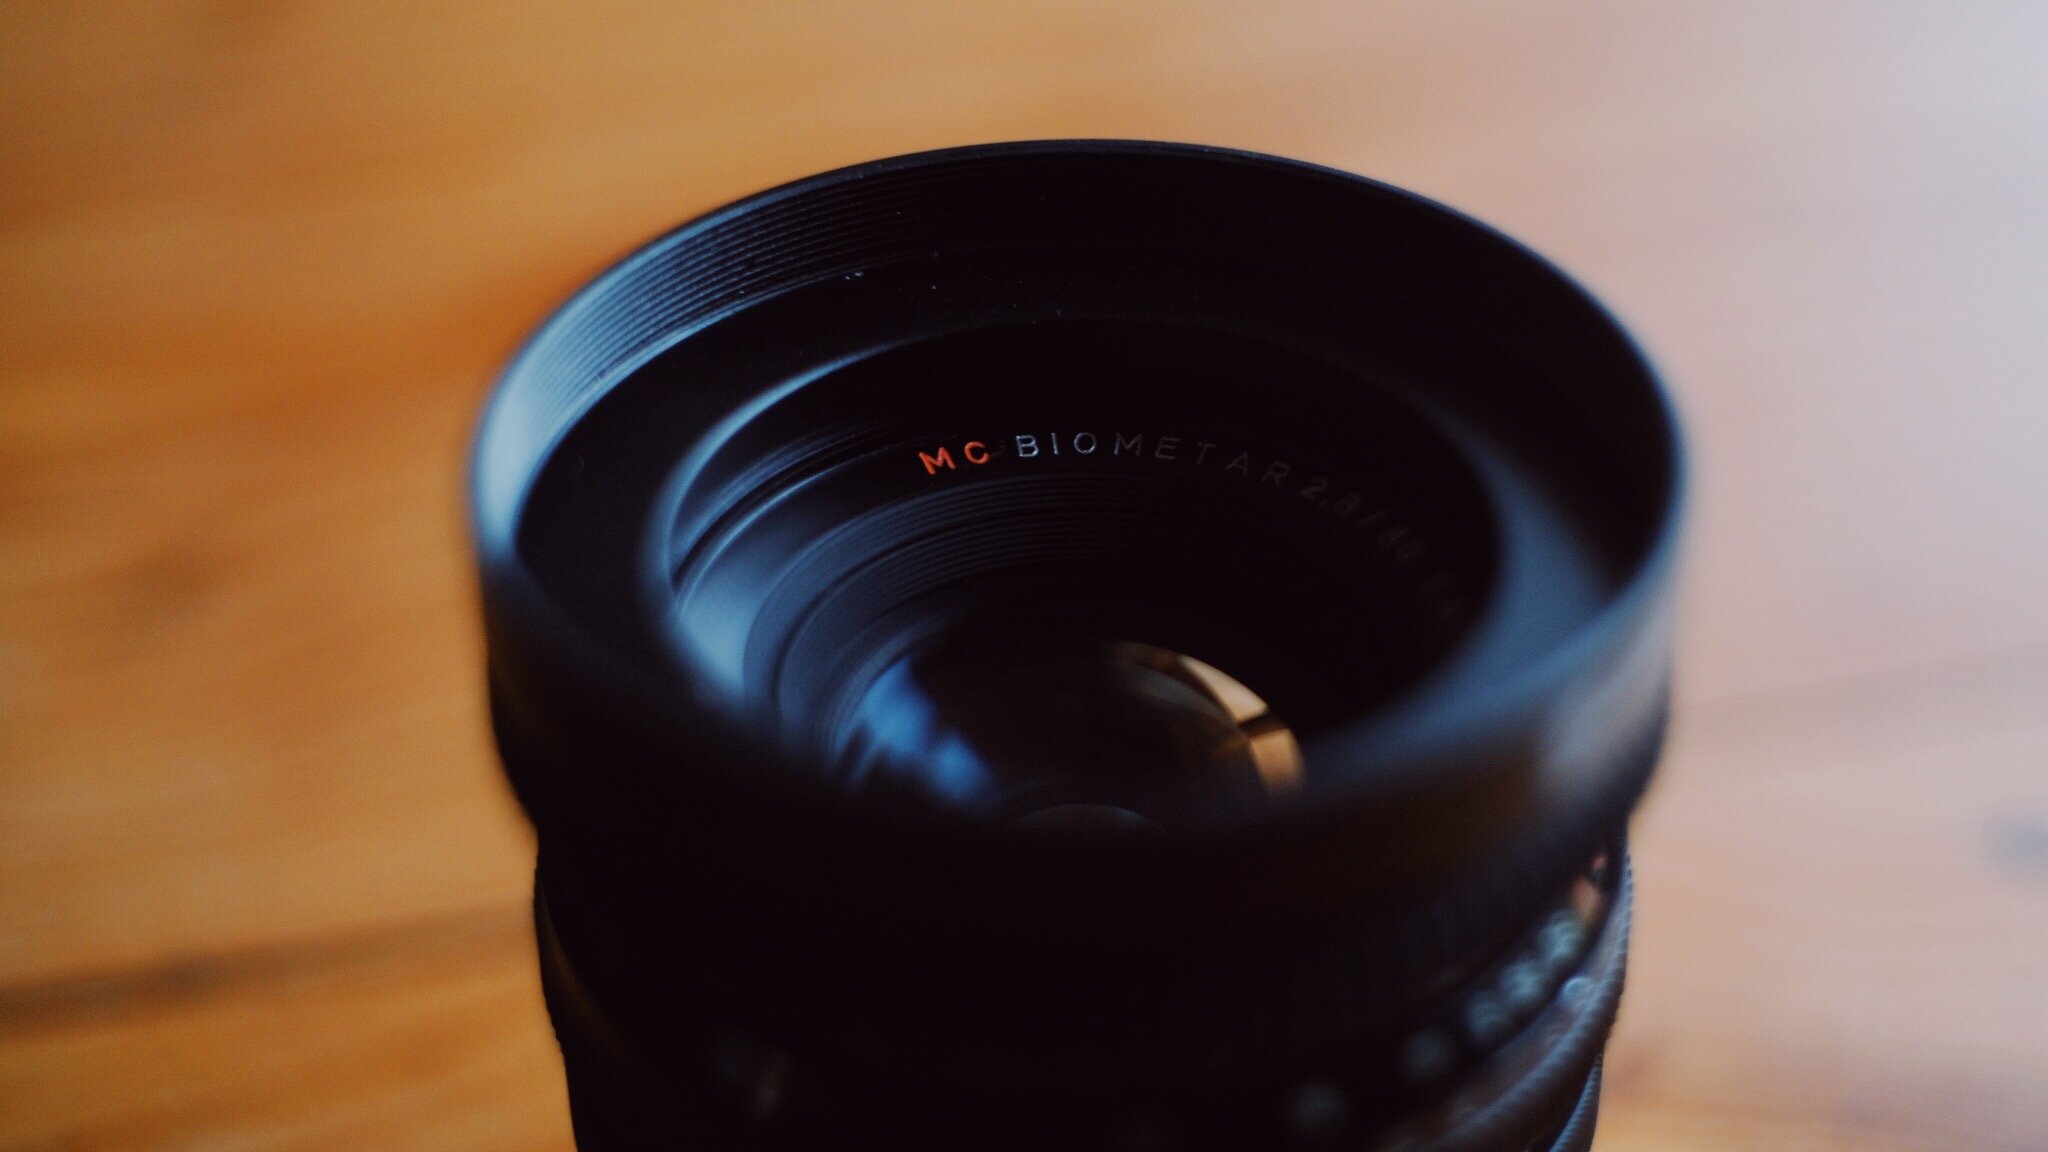
I think it’s important to note I’m also using the gear I have collected over several years. I would not recommend going out and buying everything at once. The only new items I bought specifically for the URSA Mimi G2 are the Wooden Camera Side Plate and the V-lock quick release. Plus, the RawLite OLPF internal filter. Everything else I’ve been using for some time.
For a more in depth review of the C&D Boxes check out this link.

Zacuto Gratical Eye, I’ve used this EVF with so many different cameras systems.
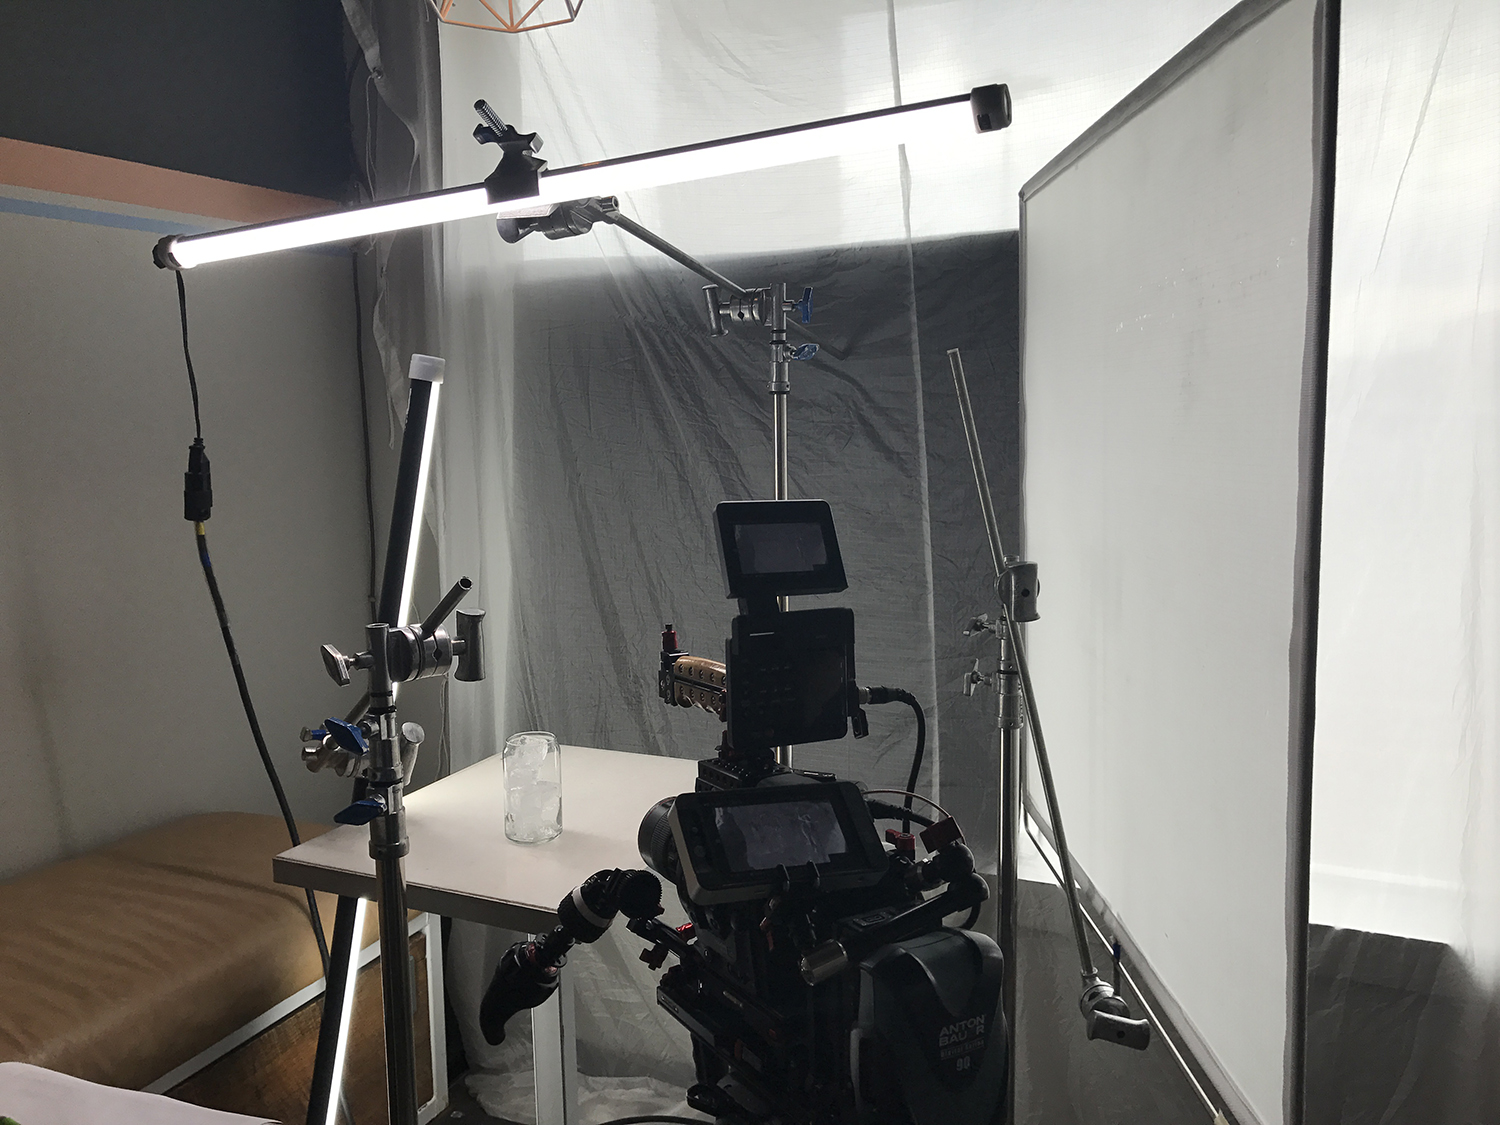
As you can see I build around the Zacuto Recoil. I have used this shoulder rig with a number of different camera brands. I love the versatility of this system, and recommend checking it out.
I’ll let the video inform you of how I build things, but I did want to give some resources that helped me make decisions on what to purchase to make the URSA Mini a better camera.
This review convinced me to purchase the RawLite filter. It was extremely helpful.
Here’s a list of the gear I used in this video to create my build.