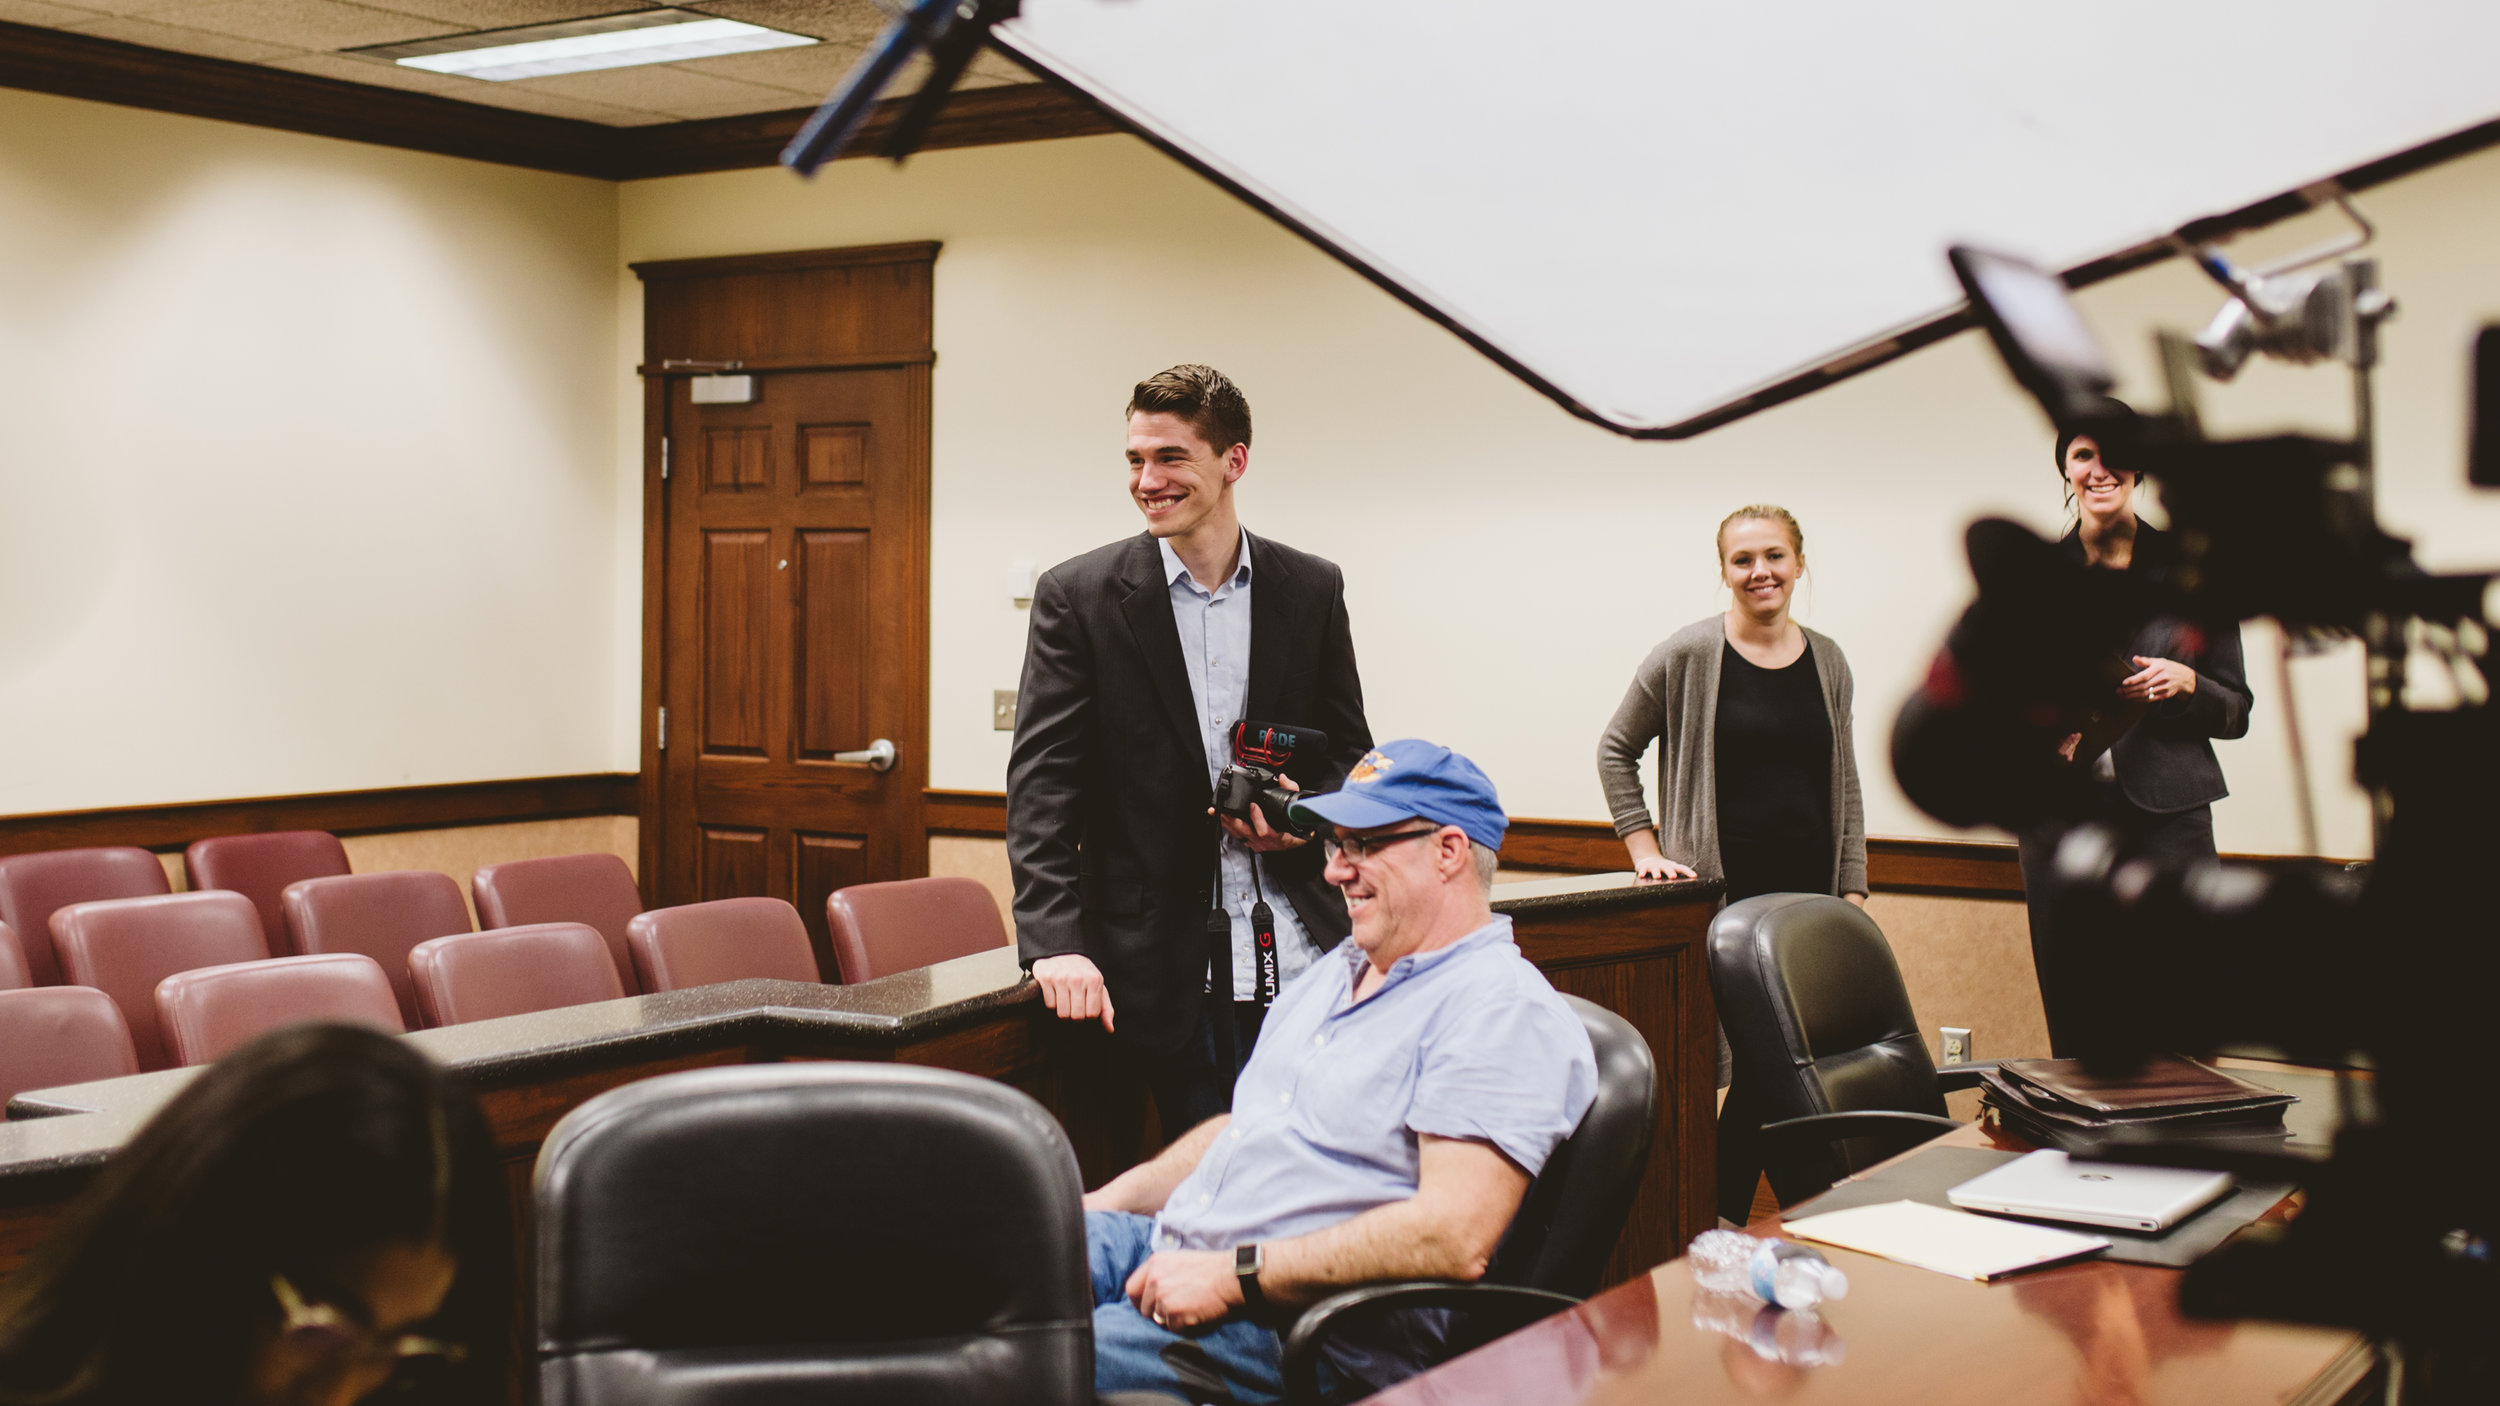

FIRST IMPRESSIONS
When I received my Wooden Camera Director Monitor Version 2 (DMCv2) I was excited to see its vast number of improvements. I've had the first version for several years. So when I found out Wooden Camera had a newer version that was priced the same as the first, I decided to check it out.
In the video above, I point out three of my favorite improvements. In this post I'll cover a few more things I was impressed with and suggest how to configure this DMCv2 best. In case you didn't watch the video here are my favorite improvements:
- Strap - it's thicker and more comfortable to wear around your neck. Plus, the strap now attaches at four points to the cage. This keeps the monitor facing up even when you are not holding on to the grips.
- Swing away plate - WC made a huge design improvement by creating a swing away rear plate. This allows you to access the back of the monitor and make all of your power and signal connection with ease.
- New handles - you can now choose between wooden or rubber handles. It's always nice to have choices.

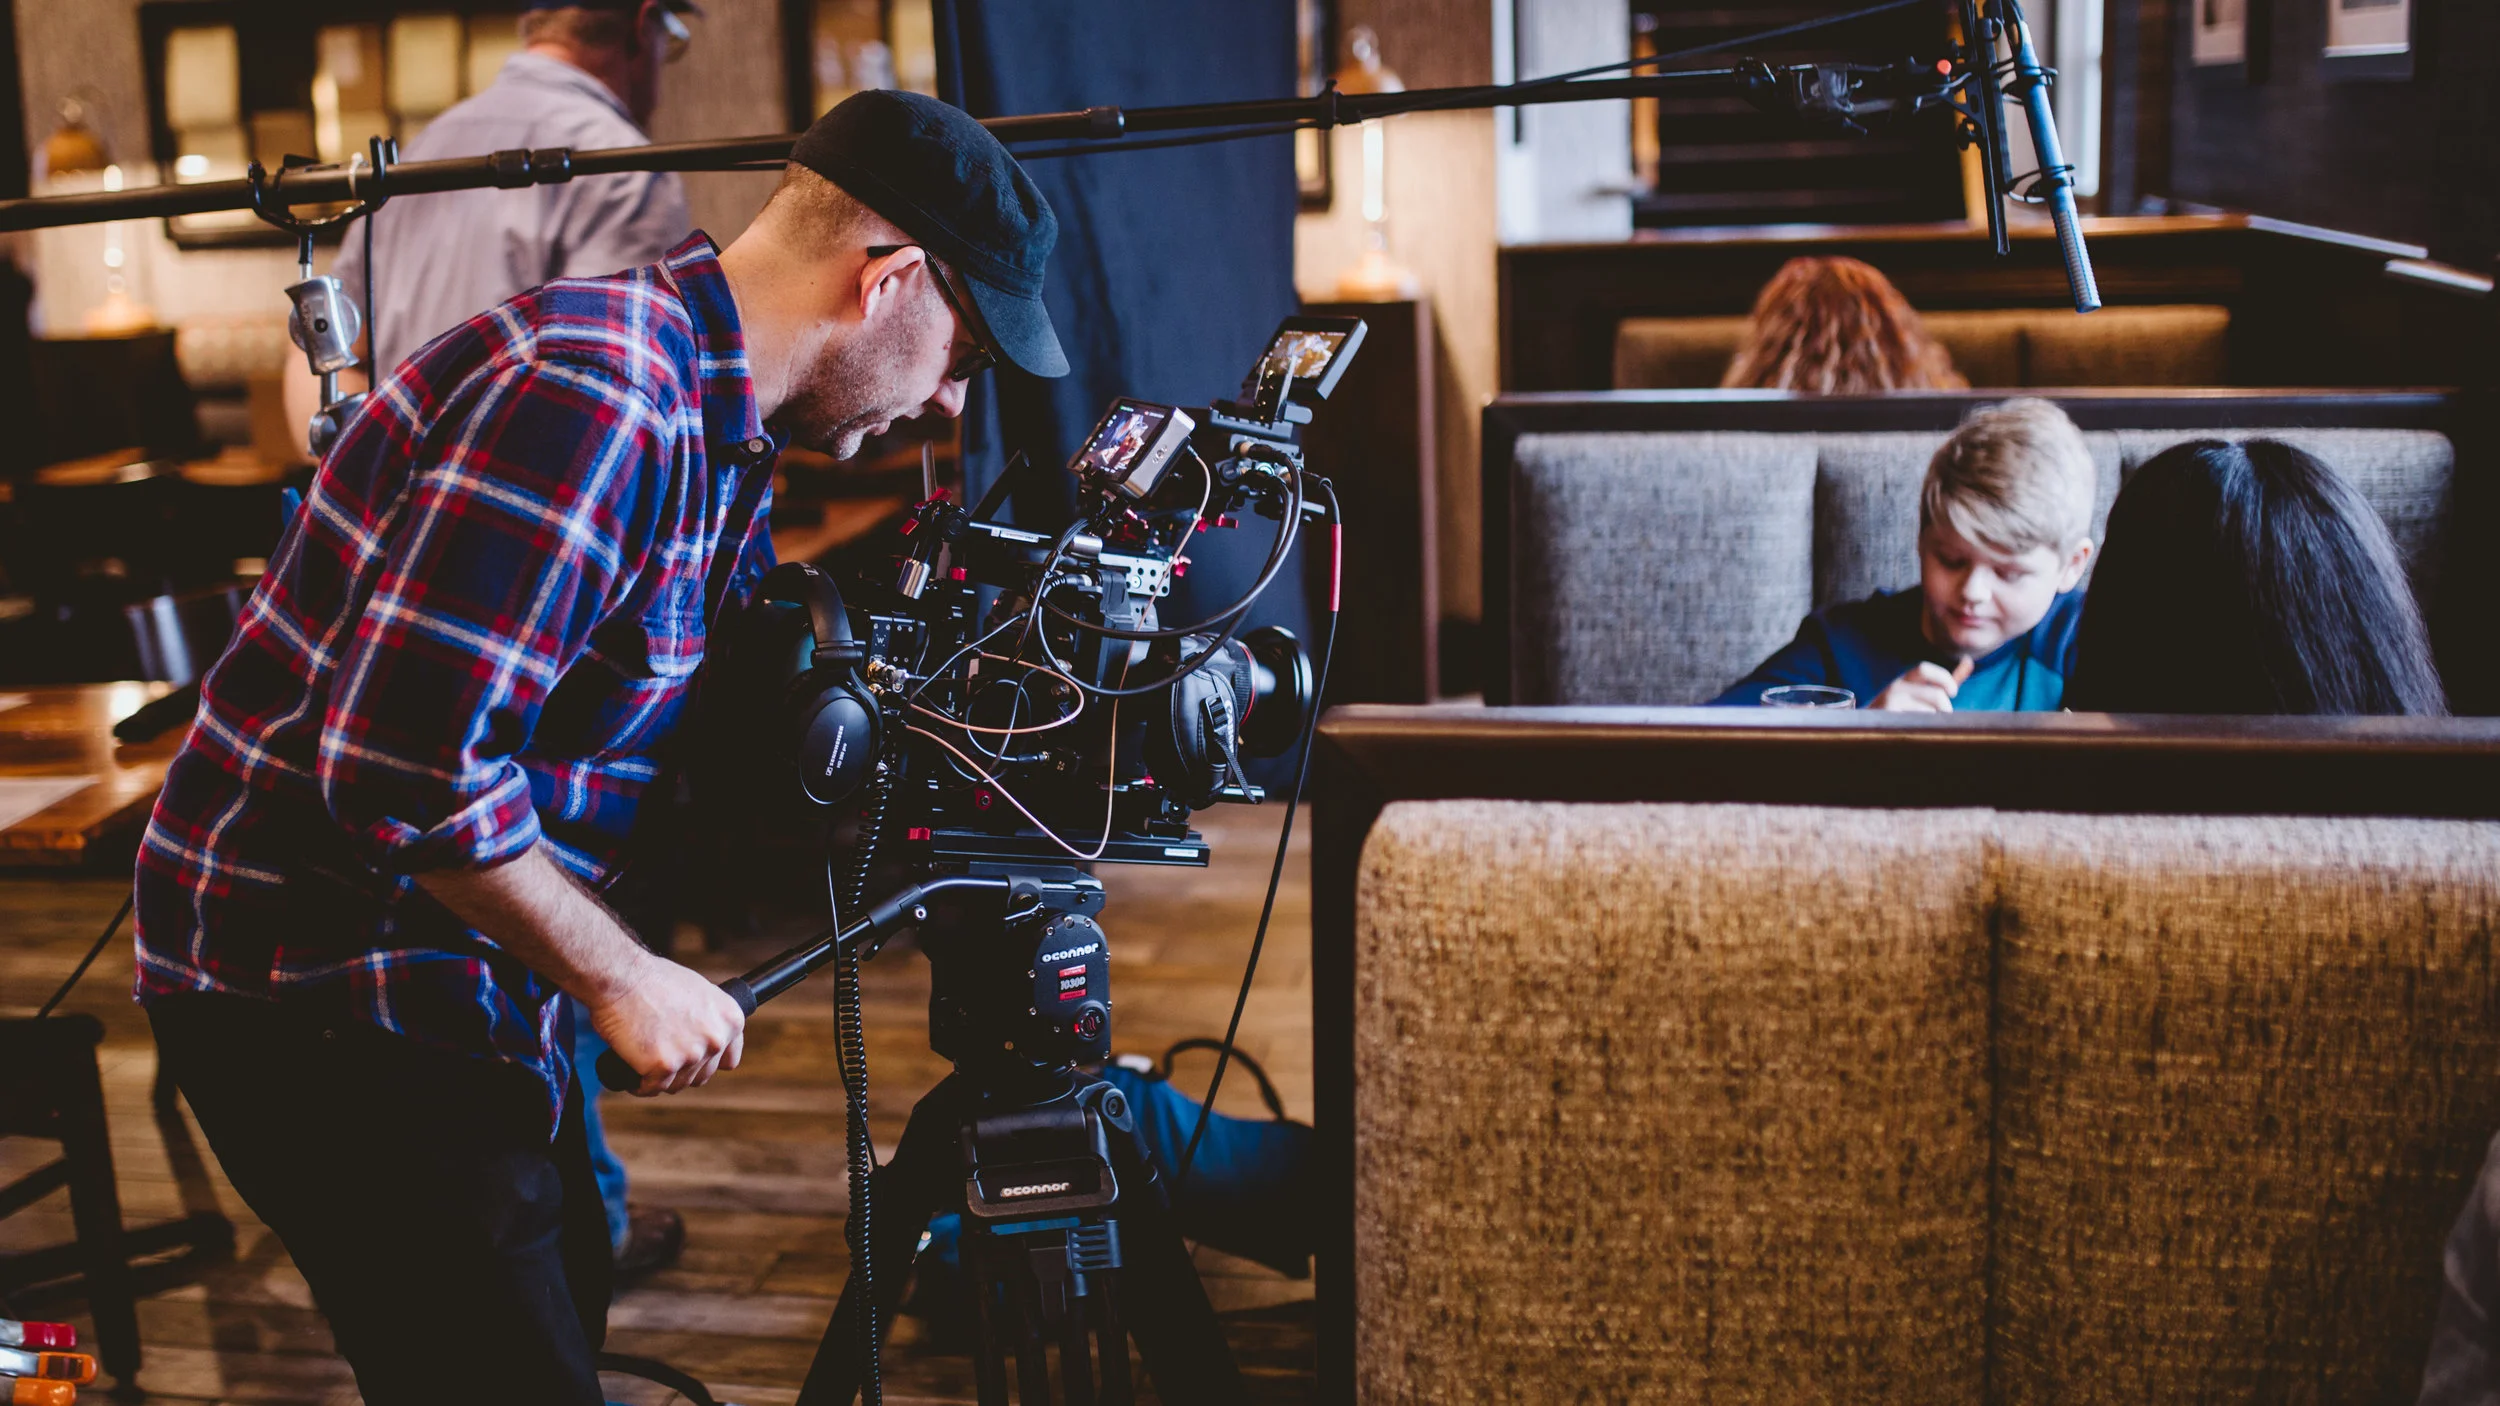
On occasion I had to pull focus for our camera operator. The DMCv2 allowed me to do this thanks to the newly designed strap that connects at four points to the cage, which keeps the monitor facing up. I like to call it "a hands free design."
OTHER IMPROVEMENTS
There are a couple of changes I didn't address in the video for the sake of time. I really like that Wooden Camera is now including a sun shade with the cage. I think the best part of this is you can use the shade as a protective cover for your monitor when it's not in use. When I'm in a hurry and rushing from location to location, I don't have time to throw everything I'm using in a case. With the hood covering the monitor I'm comfortable throwing the DMCv2 in the front seat of my vehicle and going. It's a major time saver.
Another added improvement is the wireless receiver mount. It's made specifically for the Teradek Bolt, but works fine with my Cine Gears Ghost Eye system. Any transmitter with a 1/4 20 mount on the bottom should work with this mount.

Being able to look at the monitor without having to hold on to it can free your hands up to pull focus if needed.
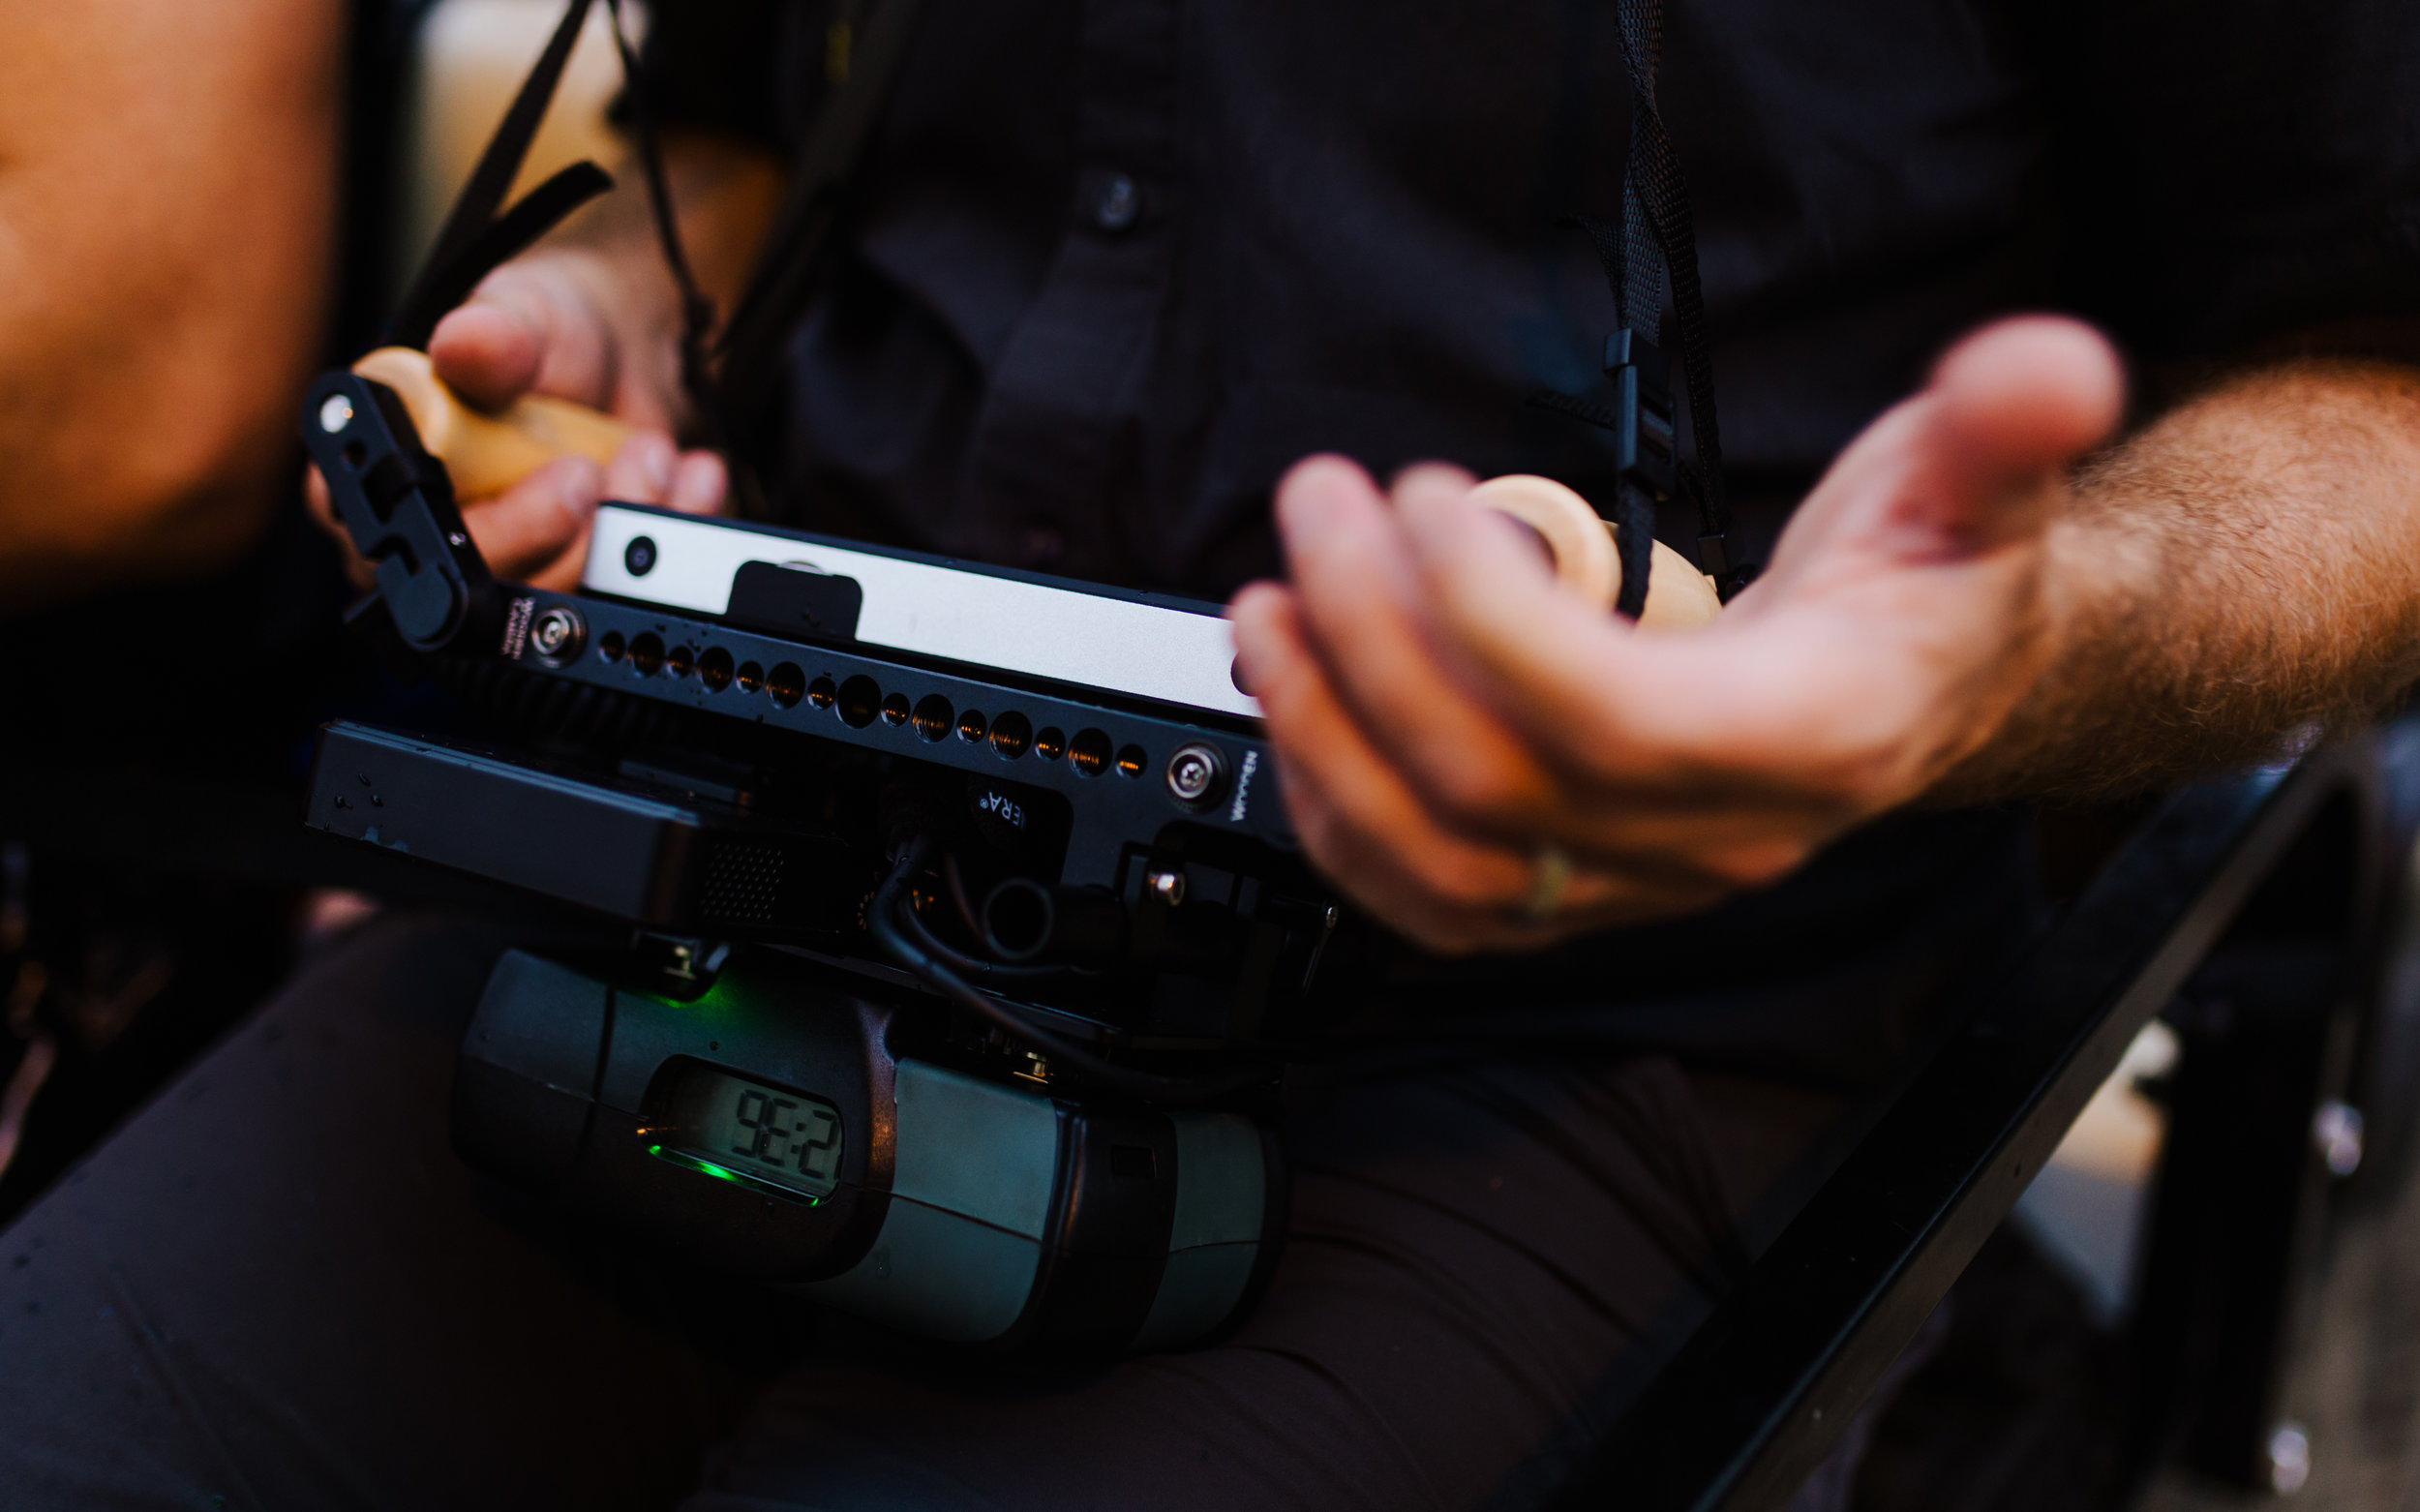
Mounted on the back plate is a Gold Mount battery plate and a Cine Gears Ghost Eye wireless receiver.
The design of the cage is universal and will work with a myriad of monitors and recorders. In fact, you can configure the DMCv2 as a dual monitor cage. Check out the video below to see different options and how to assemble the monitor cage.
CONFIGURATION
There are several ways to configure the DMCv2, but this is my favorite way. I use a SmallHD 702 Bright with my monitor cage and highly recommend purchasing the LEMO to D-tap kit so you can run the monitor off of a Anton Bauer, or whatever battery you use, to avoid using small batteries that you have to swap out every four hours. This way you have one power source for the monitor and the wireless receiver. It just makes life easier on set.
You also need a Gold Mount or V Mount Dual D-tap mount for the back for the monitor cage. They go for $125 and are not included with the kit. One of these battery plates is a must if you want to configure the DMCv2 correctly.
The price of the DMCv2 is $299 and with the added cost of the LEMO kit and a battery plate you are looking at a total of $703. If you skip the LEMO kit you save yourself $280. I think the cost is worth the ease of powering from one source, but budget is reality.
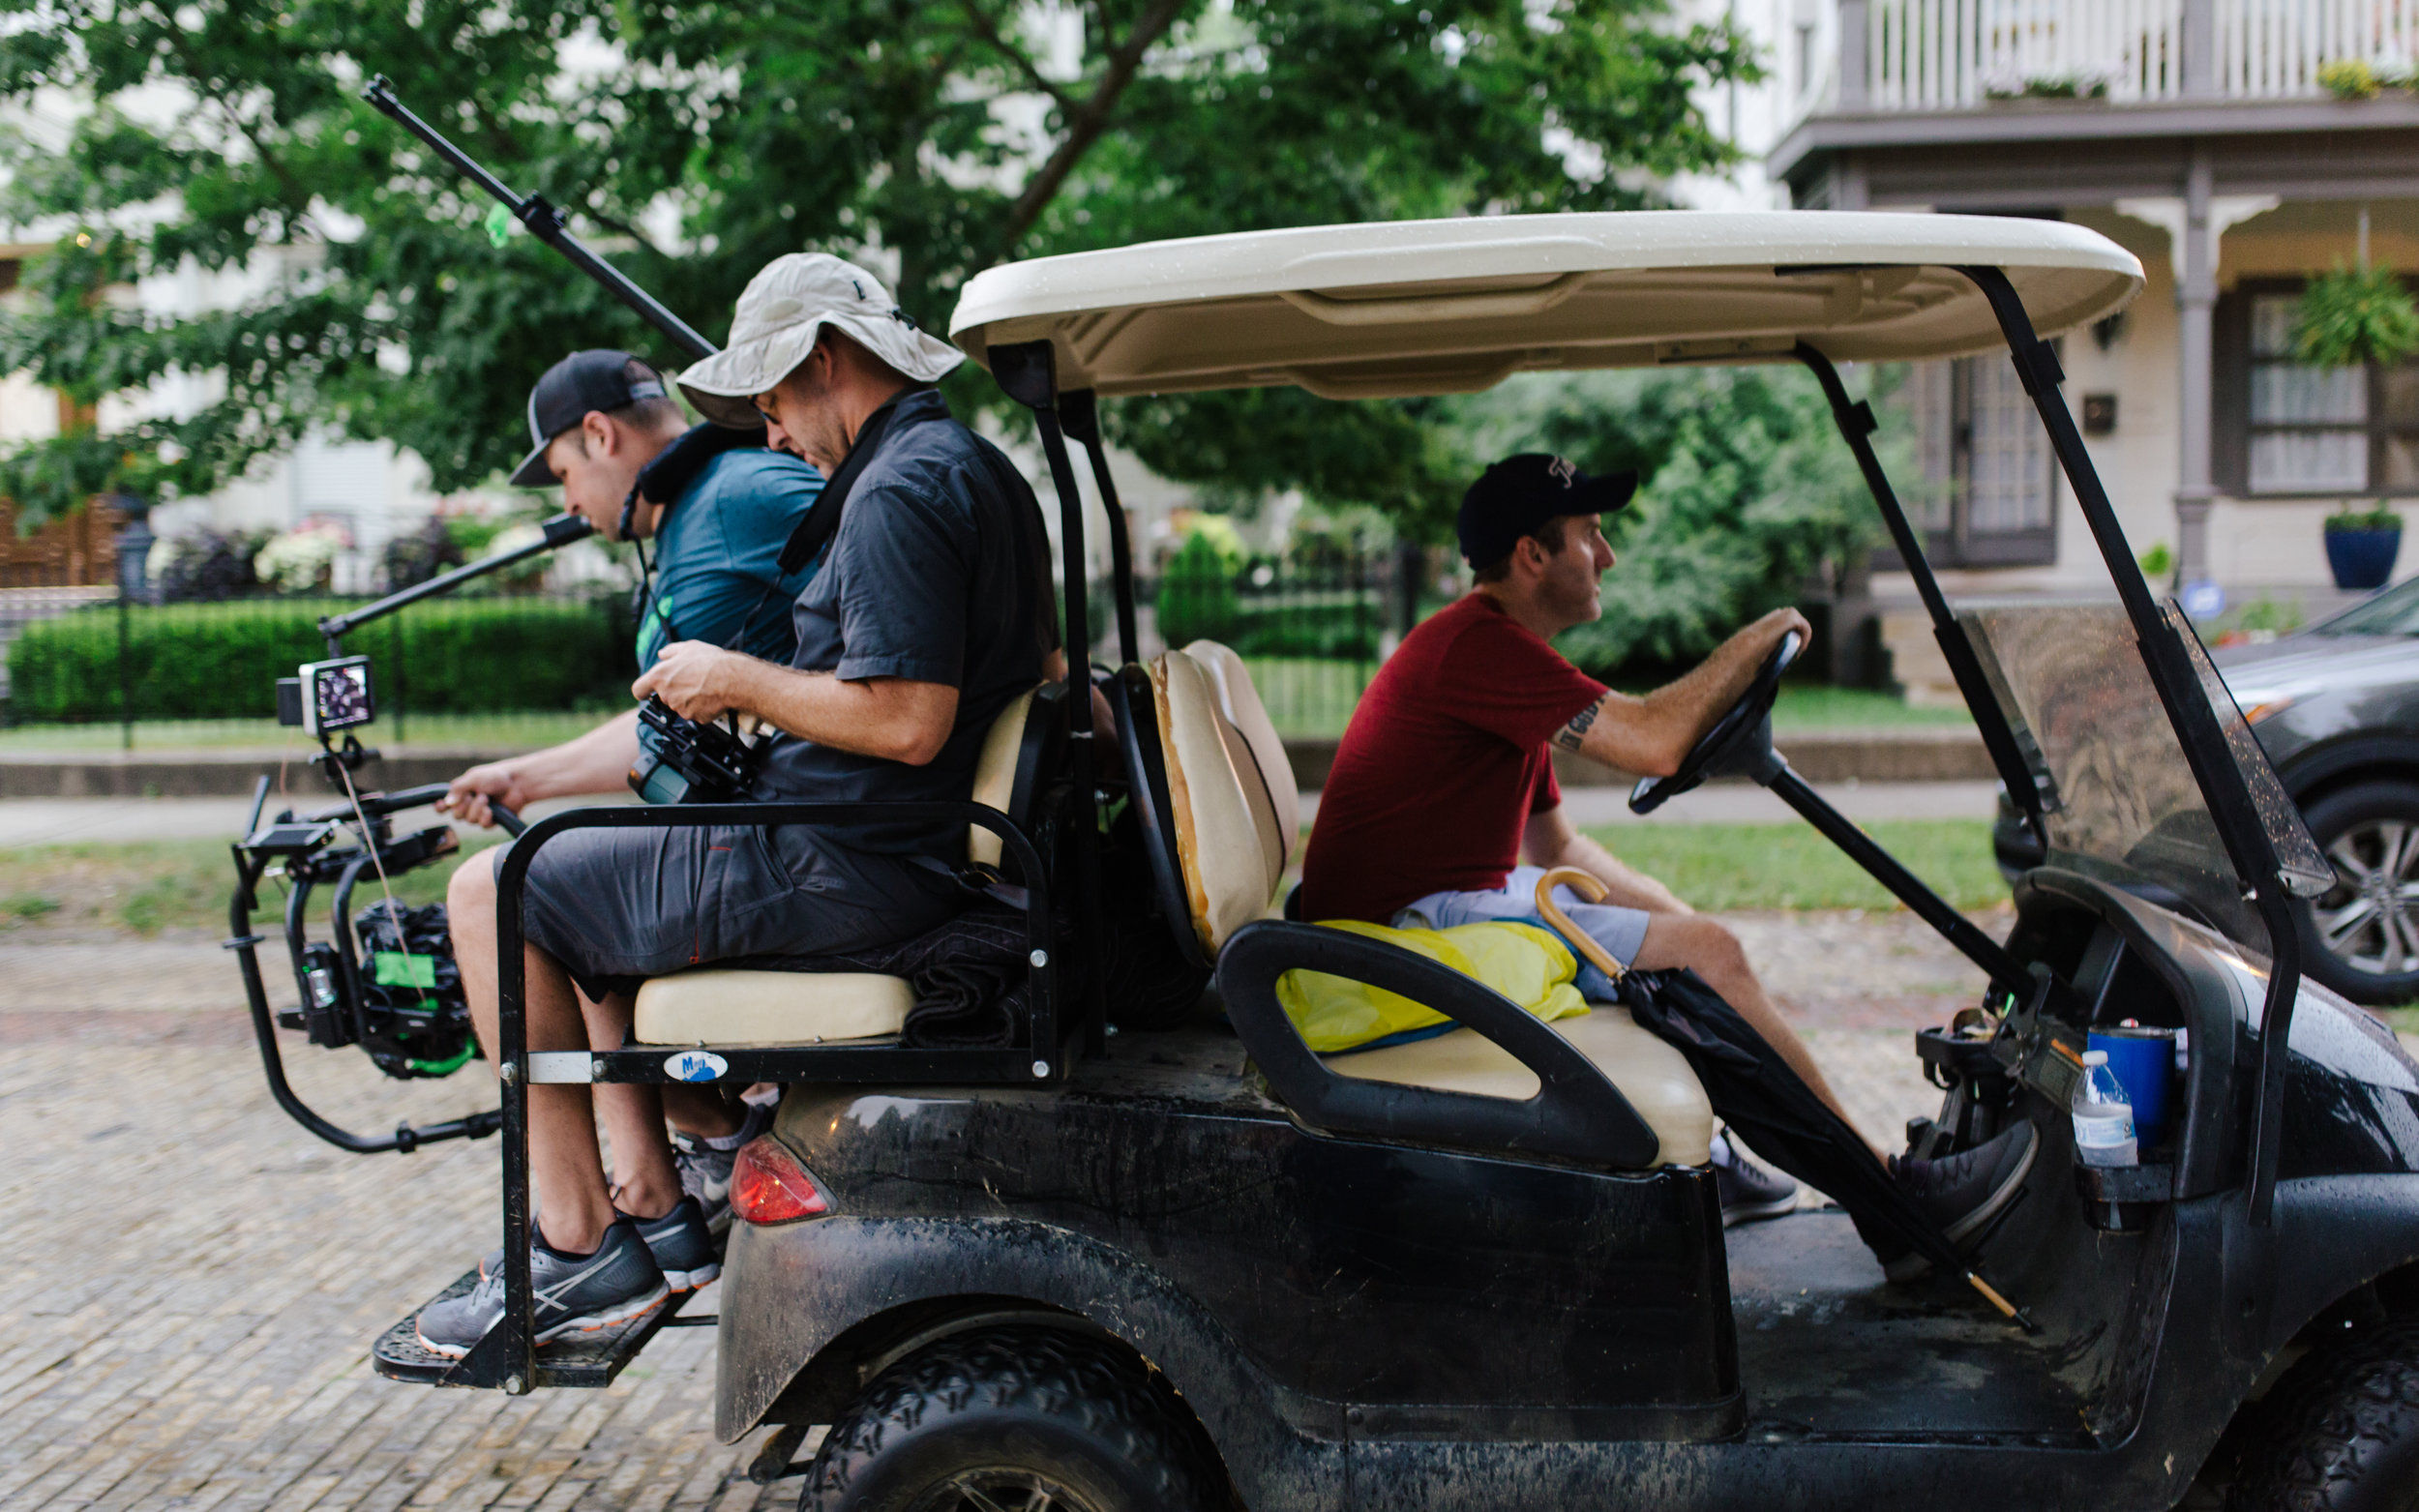
To track with our talent during a jogging scene we used a golf cart. Our camera operator was using a Movi and I directed with the help of the DMCv2. See the short film below to view the scene.
FINAL THOUGHTS
I find that when using a gimbal I need a wireless monitor solution and I think the Wooden Camera Director's Monitor Cage Version 2 is the best way to go. When you don't have time to set up a studio monitor or if you are on location shooting where there's not a power source for a monitor the DMCv2 is really handy. I'm getting a lot of use out of mine.
Below is a short film I recently directed. I used the DMCv2 on all of our gimbal shots.
BEHIND THE SCENES OF LEFT TURN II